That first lukewarm sip from your office water cooler tasting faintly metallic? Or maybe your once-crisp cold water now trickles out at a snail’s pace? These aren’t just annoyances—they’re urgent signals your water cooler filter needs immediate replacement. Ignoring these warnings risks contaminant buildup, bacterial growth, and permanent damage to your unit. A timely water cooler filter change is your frontline defense against compromised water quality and expensive repairs. In this guide, you’ll master the exact process to replace any standard filter in under 20 minutes—no professional help required. You’ll learn to spot failure signs, avoid costly installation mistakes, and troubleshoot post-replacement quirks so your water stays consistently pure and refreshing.
Why Your Water Flow Slows and Taste Turns Off
When contaminants overwhelm your filter, performance plummets fast. Recognizing these red flags prevents health risks and extends your cooler’s lifespan.
Sudden Drop in Water Pressure from Both Taps
If cold water pours like a faucet but hot water barely drips—or both streams weaken significantly—you’re dealing with a saturated filter. As sediment and minerals clog the carbon media, water struggles to pass through, forcing pumps to overwork. This isn’t just inconvenient; it strains electrical components and increases energy use. Test this by timing how long it takes to fill a 16-oz glass. If it exceeds 45 seconds, schedule your water cooler filter change immediately—delaying risks complete flow stoppage.
Metallic or Musty Flavors Despite Cold Temperature
That “off” taste isn’t imagination—it’s failed filtration. A spent filter can’t remove chlorine, heavy metals, or organic compounds, letting them seep into your water. Worse, stagnant water in a clogged system breeds bacteria, causing sour or musty odors. Never ignore this: if water smells like wet cardboard or leaves a chalky residue on glasses, contaminants are already bypassing the filter. Run a simple test by comparing tap water to cooler water; if the cooler tastes significantly worse, replacement is non-negotiable.
Missing Manufacturer’s Replacement Deadline
Most filters fail silently before obvious symptoms appear. Consult your manual: 90% of units require changes every 6 months for heavy office use (50+ users) or annually for homes. High-mineral water? Cut that interval by 30%. Create a calendar alert the moment you install a new filter—waiting for problems wastes money on bottled water and invites health hazards.
Essential Tools for a Leak-Free Filter Swap
Gather these items before starting to avoid mid-process spills or damaged parts. Skipping even one tool risks cross-threading or electrical hazards.
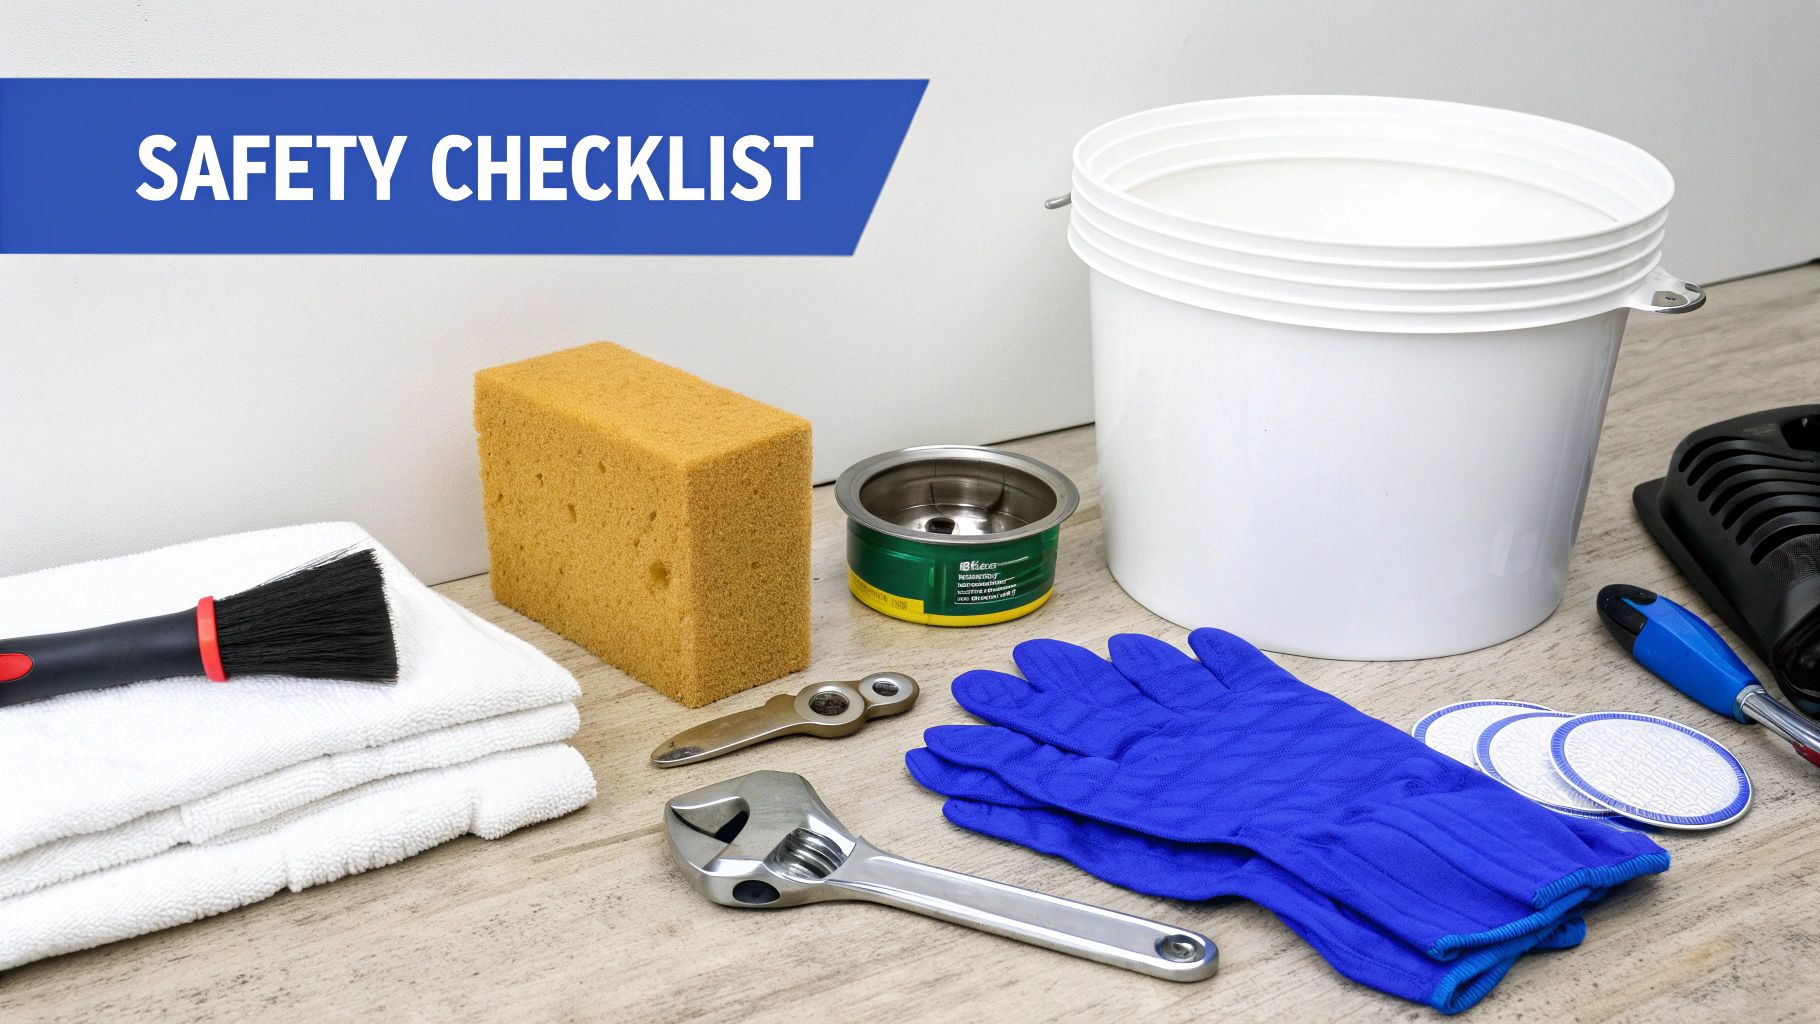
Must-Have Supplies Checklist
- Exact Replacement Filter: Using generic cartridges voids warranties and causes leaks. Match your model number (e.g., “AquaTru FC-100” for top-load units) found inside the reservoir or on the old filter’s base.
- Absorbent Floor Mat: Standard towels slip on wet surfaces. Use a rubber-backed mat under the cooler to catch 2+ cups of residual water during drainage.
- 5-Gallon Bucket: Position it directly under the filter housing—never rely on the drip tray alone. Its depth prevents splashback onto electrical components.
- Plumber’s Tape (Optional): Only for threaded housings with persistent leaks. Wrap threads once clockwise before installing new filters—over-taping cracks plastic fittings.
Finding Hidden Filter Compartments in 60 Seconds
Top-load coolers hide filters under the water bottle cradle; press the release latch and lift the plastic panel. Bottom-load models require removing the access door on the unit’s front base—slide it downward, not outward. Countertop dispensers often tuck filters behind the drip tray: pull the tray straight out, then unscrew the metal housing beneath it. If you see wires instead of plumbing, stop—you’re in the electrical compartment. Consult your manual before proceeding.
Execute Your Water Cooler Filter Change in 8 Precision Steps
Follow this sequence to avoid airlocks, leaks, or electrical damage. Each step takes 1-3 minutes when prepped correctly.
Step 1: Cut Power to Prevent Shock Hazards
Unplug the unit immediately—never skip this. Water near live components causes electrocution or short circuits. Verify disconnection by checking if the cooler’s display screen goes dark. For hardwired office units, flip the dedicated circuit breaker. Work only after confirming zero power; a single spark near water lines can melt wiring harnesses.
Step 2: Isolate Water Sources Completely
For bottle-fed coolers, lift the 5-gallon jug straight up—don’t tilt it—to avoid spilling 2+ gallons inside the reservoir. Plumbed units need two actions: shut the wall supply valve and open both taps until flow stops. You’ll hear a distinct “hiss” as line pressure releases; if it doesn’t stop within 10 seconds, double-check the valve position.
Step 3: Drain Residual Water Safely
Place your bucket under the filter housing, then open hot and cold taps fully. Let water run until streams reduce to drops—this takes 90 seconds typically. For stubborn units, locate the reservoir drain plug (usually a white knob behind the access panel) and unscrew it counterclockwise. Never skip draining: residual water floods your workspace when removing the filter.
Step 4: Access the Filter Housing Without Damage
Remove the service panel using upward pressure—never pry with screwdrivers. In top-load models, the filter sits vertically in a metal cradle; bottom-load units have horizontal cartridges behind the drip tray. If your housing has a release tab, press it firmly while twisting the filter 1/4 turn counterclockwise. Forced removal cracks the plastic housing, requiring $150+ replacements.
Step 5: Extract the Old Filter Without Mess
Wear gloves—spent filters harbor mold and bacteria. Position your bucket directly under the housing, then twist the canister counterclockwise until loose (usually 1-2 full turns). As it releases, pull straight down while angling it slightly toward the bucket. Expect 4-6 oz of water to spill; a dry mat absorbs this instantly. Never shake out old filters—this aerosolizes contaminants.
Step 6: Prime and Install the New Filter Correctly
Soak the new filter in cool water for 5 minutes to saturate the carbon core—this prevents initial “carbon dust” cloudiness. While submerged, wipe the housing threads with a clean cloth. Align the filter’s grooves with the housing pins, push up firmly, then twist clockwise until snug. Critical: Stop when resistance increases sharply; overtightening strips threads. Recheck that the O-ring sits flush in its groove—no pinching allowed.
Step 7: Restore Function Without Airlocks
Reinstall access panels, then plug in the cooler. For bottle units, place a fresh jug slowly to avoid splashing. Open the cold tap first and run water continuously for 3 minutes to purge air bubbles. Switch to hot water for 2 more minutes—this prevents scalding from trapped steam. Cloudy water is normal; it clears after 10 cups of use.
Step 8: Reset Filter Timer to Avoid Future Overuse
Find the reset button (often under the drip tray or via the control panel) and hold it for 5 seconds until lights flash. If your unit has a digital display, navigate to “Filter Reset” in settings. Skipping this leaves false “change due” alerts, tricking you into premature replacements that waste money.
Fix Post-Change Issues in Under 10 Minutes

New filters often trigger temporary quirks—here’s how to resolve them safely without reinstalling.
Clearing Persistent Cloudiness After Flushing
If water stays milky beyond 20 cups, air isn’t the culprit—it’s carbon fines from an unprimed filter. Run 2 gallons through the cold tap continuously. For severe cases, remove the filter, rinse it under cool water for 30 seconds, then reinstall. Never use hot water during rinsing—it damages the carbon structure.
Eliminating Plastic Aftertaste Immediately
A “new” chemical flavor means insufficient flushing. Pour 1 cup of white vinegar down the bottle neck (for top-load units), then run 3 gallons of water through both taps. The vinegar neutralizes residual compounds without harming seals. Taste-test after each gallon; most filters clear by the second.
Stopping Leaks at the Filter Housing Seam
Tighten the filter 1/8 turn clockwise with a rubber grip tool—no metal wrenches. If leaks persist, power off the unit, dry the housing completely, then apply plumber’s tape to the threads. For O-ring issues, lubricate it with food-grade silicone grease before reinserting; petroleum-based products degrade rubber.
Critical Moments When Professionals Beat DIY
Call a technician immediately if you encounter:
– Water pooling under the unit after installation (indicates cracked reservoir)
– Electrical burning smells during restart
– Continuous leaks from housing even after tightening and taping
Attempting fixes here risks mold contamination or fire hazards. A certified tech diagnoses internal valve failures for $75–$120—cheaper than replacing a $400 cooler.
Changing your water cooler filter isn’t just maintenance—it’s your guarantee of safe, great-tasting water every single day. By following this precise sequence, you’ve eliminated contaminants, protected your appliance, and avoided costly service calls. To maintain peak performance, mark your calendar for the next water cooler filter change 30 days before the manufacturer’s deadline. Keep this guide handy for your next swap, and share it with colleagues—because clean water should never be a luxury. Now go enjoy that perfectly crisp, refreshing sip you deserve.