Your swamp cooler sputters to life but blows warm air while desert heat invades your home. That persistent leak stains your ceiling, or strange grinding noises keep you awake at night. These failures strike precisely when you need relief most—during triple-digit temperatures. This swamp cooler troubleshooting guide delivers immediate, actionable fixes for 90% of breakdowns. You’ll diagnose issues like a pro using basic tools and simple checks, often completing repairs before a technician could arrive. Skip the guesswork and expensive service calls—let’s restore your evaporative cooling system today.
Verify Power Supply Before Complex Repairs
Don’t waste hours dismantling your unit when the solution might take 60 seconds. Over 40% of “broken” swamp coolers fail due to simple power interruptions. Start here to avoid unnecessary disassembly.
Confirm Electrical Connections Are Secure
Check that the power cord is fully inserted into a working GFCI outlet—test the outlet with a lamp first. Immediately head to your breaker panel if the unit is silent. Locate the dedicated circuit (typically 15-20 amps for residential coolers) and reset any tripped switches. While there, inspect for corroded wires or burnt terminals in the electrical box. If your cooler uses a wall thermostat, set it 10°F below current temperatures and ensure it’s in “cool” mode. Critical warning: Never bypass GFCI protection—even for testing—as water and electricity create lethal risks.
Test Switch and Control Functions
For hardwired units, remove the access panel and verify all wire nuts are tight at the motor and pump connections. Toggle the wall-mounted switch repeatedly while listening for the pump to activate. If using a remote control system, replace batteries and re-pair the device. If the motor hums but won’t start, a failed run capacitor is likely—you’ll need a multimeter to confirm (see motor section).
Restore Cooling Performance in 3 Critical Steps

Warm air output means your evaporative cooling process has broken down. Mineral buildup and water flow issues cause 80% of cooling failures—fix these before suspecting major component failure.
Replace Mineral-Clogged Cooling Pads Immediately
Your pads should feel uniformly damp—not dripping wet or bone dry. Remove access panels and inspect pads for white crusty deposits or matted fibers. For Master Cool units, standard 2-inch thick cellulose pads cost under $30 and take 15 minutes to swap. Pro tip: Soak new pads in a vinegar-water solution (1:1 ratio) for 30 minutes before installation to delay mineral scaling. Replace pads annually in hard-water areas—delaying causes permanent efficiency loss.
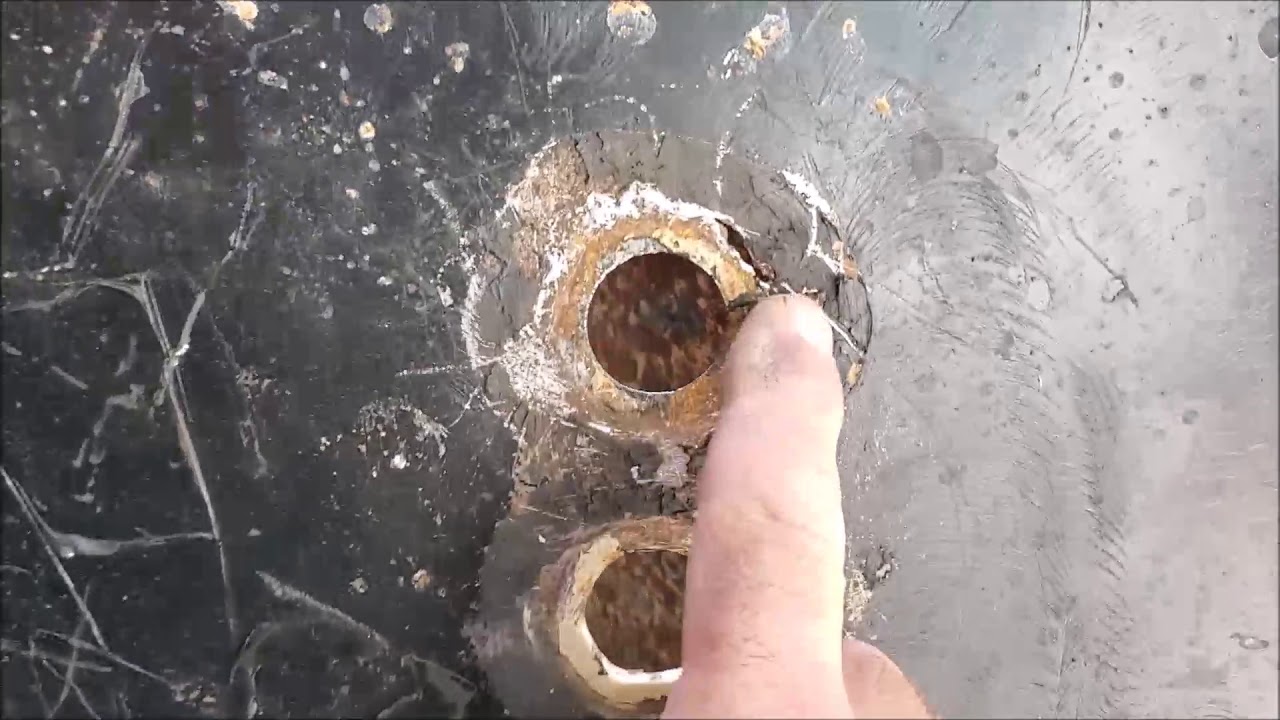
Unclog Water Distribution Lines and Pump
With power off, remove the pump and clean its inlet screen under running water. Use a stiff brush to clear mineral deposits from the distribution trough’s small holes—clogs here create dry spots on pads. Ensure the float valve moves freely: lift the arm manually to hear water shut off. If the sump pan stays empty, adjust the float rod upward slightly. Time estimate: Full water system cleaning takes 20 minutes with basic tools.
Confirm Adequate Airflow Through the Unit
Clogged pads restrict airflow more than you’d think. Hold your hand near the pads while the fan runs—if you feel minimal breeze, pads need replacement even if they look wet. For belt-drive models, check fan blade rotation speed: it should move air vigorously within 5 seconds of startup. If airflow remains weak after pad replacement, inspect ductwork for collapses (next section).
Eliminate Leaks From Sump Pan and Valves
Water pooling under your cooler indicates a preventable failure. Left unaddressed, leaks cause structural damage and mold growth within days—address these sources immediately.
Fix Stuck Float Valves Causing Overflows
Manually lift the float arm while water runs—if it doesn’t shut off instantly, debris is jamming the valve. Disassemble the valve (usually 2 screws) and clean the rubber seat with vinegar. Replace worn valve assemblies ($15 online) if cleaning fails. Visual cue: A constantly running overflow tube means immediate valve attention.
Seal Cracks in the Sump Pan
Inspect plastic or metal reservoirs at corners and seams where stress cracks form. For hairline cracks, drain the unit, dry thoroughly, and apply waterproof epoxy putty. Larger cracks require pan replacement—measure your model first (Master Cool 7000 series pans cost $40-$60). Always check the drain plug seal; a loose plug causes slow leaks that mimic pan cracks.
Silence Squeals, Grinds, and Rattles
Strange noises signal mechanical distress that worsens daily. Address these sounds immediately to prevent motor burnout or fan damage.
Stop Belt Squeals With Tension Adjustment
Squealing indicates a loose or glazed belt. Power off the unit, then press the belt midway between pulleys—it should deflect 1/2 inch maximum. Adjust motor mounting bolts to increase tension, but never force beyond manufacturer specs. Replace cracked belts immediately; a broken belt during operation can shatter fan blades. Urgent note: Squealing that turns to grinding means bearings are failing—shut down the unit.
Diagnose Motor Bearing Failures
A rhythmic grinding noise points to worn motor bearings. Unplug the unit and spin the fan shaft by hand—it should rotate silently with no resistance. If you feel grinding or hear clicking, bearings are shot. Unfortunately, most swamp cooler motors have sealed bearings requiring full motor replacement ($80-$150). Attempting lubrication often does more harm than good.
Fix Room-Specific Cooling Failures

When some rooms stay hot while others chill, your ductwork—not the cooler—is the culprit. This imbalance wastes energy and strains your system.
Seal Leaky Duct Connections in Attics
Climb into your attic with a flashlight and inspect all flex duct joints. Tape repairs fail quickly—use mastic paste for permanent seals. Focus on connections near the cooler plenum where high pressure forces leaks. Critical check: Feel for escaping air at seams while the fan runs (use caution near hot surfaces). Even small leaks reduce cooling capacity by 20%.
Unblock Registers and Dampers
Remove all supply vent covers and vacuum debris from grilles. Check that dampers inside duct branches are fully open—many homeowners accidentally close them during cleaning. Ensure furniture, curtains, or boxes aren’t blocking airflow within 18 inches of vents. Test airflow balance by holding tissue paper against each register; it should flutter consistently.
Revive a Failed Water Pump Quickly
Dry pads despite fan operation mean your pump has quit. Most failures involve simple blockages—not pump replacement.
Clean Clogged Pump Impellers in 10 Minutes
Unplug the unit and disconnect the pump’s power wires (note positions for reconnection). Remove the pump from the sump and unscrew its housing. Clear debris from the impeller blades using a small screwdriver—mineral deposits often jam the vanes. Reassemble, reinstall, and test. Pro tip: Run vinegar through the pump monthly to dissolve scale.
Test for Power and Motor Function
Set a multimeter to AC voltage and check for 110-120V at the pump terminals when the cooler runs. No power? Trace wiring back to the switch. If voltage is present but the pump is silent, the motor is dead. A humming pump indicates a seized impeller—tap the housing gently with a wrench while powered to free it.
When Swamp Cooler Troubleshooting Requires a Pro
Some failures demand professional expertise—knowing when to call saves you from dangerous mistakes.
Critical Failures Needing HVAC Expertise
Contact a technician immediately if you smell burning insulation, see melted wiring, or notice water leaking inside walls. Motor capacitor replacement involves high-voltage risks, and refrigerant-based “hybrid” coolers require EPA certification. If your unit uses a freeze stat (common in newer models), thermostat wiring issues need specialized diagnostics. Red flag: Repeated breaker trips after resetting indicate serious electrical faults.
Prevent Future Breakdowns With Seasonal Care
Perform these maintenance steps before peak season: Clean pads and ducts, lubricate fan bearings (if accessible), inspect belts for cracks, and flush the sump with a vinegar solution. At season’s end, drain all water lines completely and run the fan for 30 minutes to dry internal components. Store pads in a dry place to prevent mold—never leave them wet inside the unit.
Master these swamp cooler troubleshooting steps to avoid $150+ service calls for common issues. By addressing power checks, water flow, and airflow blockages first, you’ll resolve most failures before lunchtime. Remember: 70% of cooling problems stem from neglected pads and pumps—regular maintenance prevents emergencies. Keep this guide handy for next summer’s heat wave, and share these fixes with neighbors struggling with their own swamp cooler woes.