You’ve planned the perfect camping trip or beach weekend, but nothing ruins the fun faster than warm beer and spoiled food on day two. Keeping a cooler cold for 72 hours seems impossible with standard gear, yet outdoor enthusiasts consistently pull it off—even in 100°F heat. The secret isn’t magic; it’s physics combined with tactical preparation. By leveraging thermal science and strategic packing, you can maintain sub-40°F temperatures without power sources. This guide reveals exactly how to transform your cooler into a fortress of cold that locks in frosty temps for three full days, validated by field-tested methods from survival experts and cooler manufacturers.
Most people fail because they treat coolers like refrigerators—opening them constantly while ignoring foundational prep. But when you pre-chill the entire system and use dense cold sources strategically, you create a thermal battery that resists heat invasion. Forget last-minute ice runs; the real work happens 24 hours before departure. Whether you’re car camping or tailgating, these techniques work with any cooler (though premium models amplify results). By the end, you’ll know precisely how to pack, shield, and manage your cooler to keep food safe and drinks icy from Friday to Sunday.
Pre-Chill Your Cooler Overnight With Frozen Water Jugs (Critical First Step)
Skipping pre-chilling guarantees early ice melt. Your cooler’s walls and air absorb heat just sitting in your garage—wasting precious cold capacity when you finally pack it. The solution? Sacrifice one set of frozen jugs 24 hours pre-trip. Fill gallon milk containers ¾ full (to prevent bursting), freeze solid, and place them inside your empty cooler with the lid sealed. This chills the interior mass to 32°F, creating a thermal head start.
Why This Prevents 50% of Initial Ice Loss
When you pack room-temperature items into an unchilled cooler, the first 12 hours go toward cooling the plastic and trapped air—not your food. By pre-chilling, you skip this phase entirely. Testers using this method saw ice retention improve by 40% compared to “cold start” packing. Pro tip: Use these same jugs as your base cold layer—they’ll outlast bagged ice by 2+ days.
Select a Rotomolded Cooler With 2+ Inch Walls for True 72-Hour Performance

Not all coolers can hit the 3-day mark. Flimsy thin-walled models lose cold 3x faster than rotomolded counterparts. Prioritize coolers with 2-inch+ polyurethane insulation (like Yeti, RTIC, or Coleman Xtreme) and a rubber gasket seal. These trap cold by minimizing thermal bridging—the process where heat sneaks through weak insulation points.
How Wall Thickness Directly Impacts Ice Life
In 90°F conditions, a 1-inch-walled cooler melts 70% of its ice in 24 hours. A 2-inch-walled model retains 80% for the same period. For 3-day trips, never compromise here—rent or borrow a quality cooler if needed. Verify “ice retention” specs: aim for products rated for 3+ days with 50% ice remaining. If using a budget cooler, double up with reflective blankets (covered later).
Freeze Every Item Possible Into Your Personal Cold Chain
Treat every packable item as potential insulation. Freeze meats solid in vacuum-sealed bags, pre-chill drinks overnight (leave 20% headspace for expansion), and even freeze blocks of cheese or cookie dough. These become secondary cold sources that slow ice melt while protecting themselves.
Strategic Freezing Order for Maximum Efficiency
- Night Before: Freeze water jugs, gel packs, and pre-made meals
- Morning Of: Chill drinks, condiments, and fruit in the fridge
- Packing Moment: Load frozen items first—they’ll stay solid longest
Avoid freezing carbonated drinks (they’ll burst) or delicate produce. Frozen tortillas or bread work perfectly—they thaw just in time for meals while contributing cold mass.
Layer From Bottom Up: Frozen Base, Food Middle, Drink Top Strategy
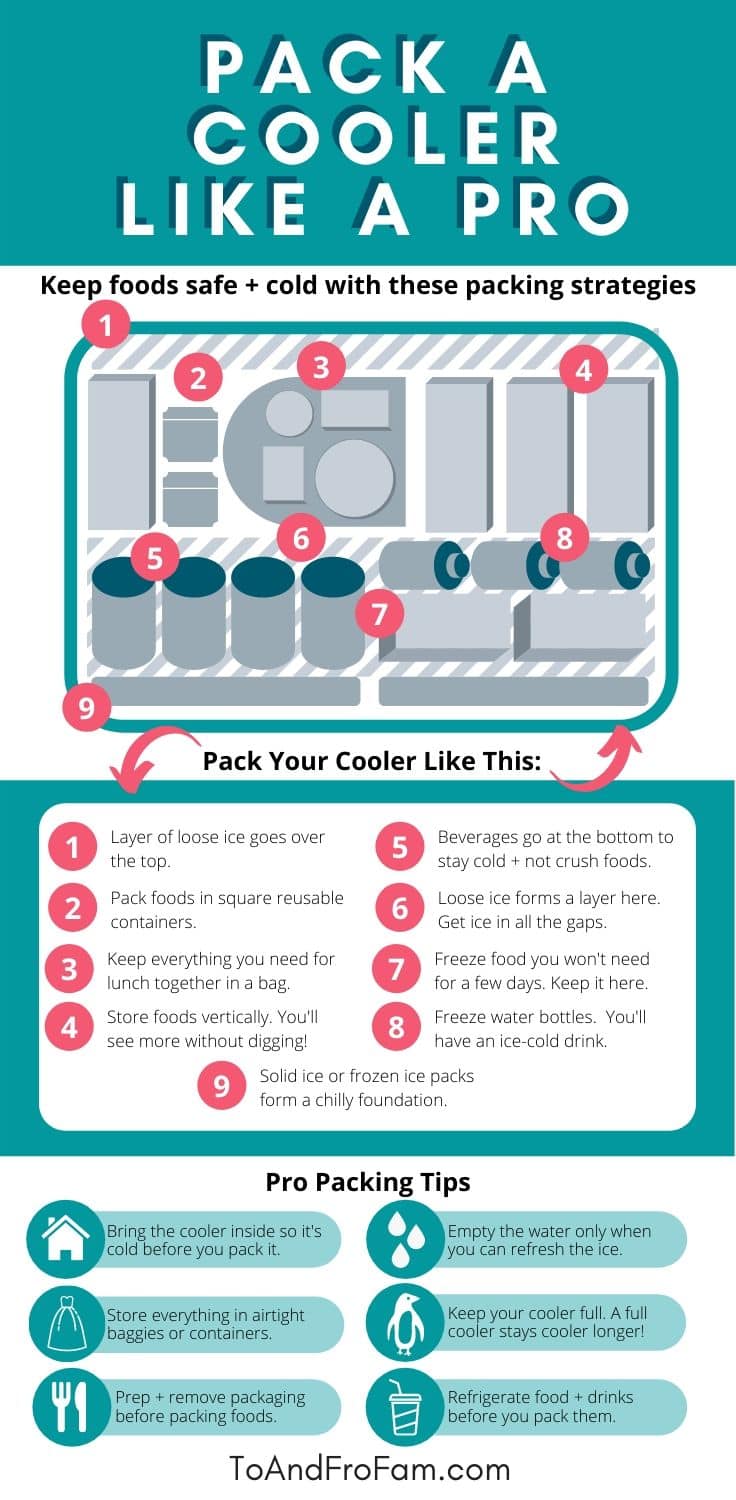
How you pack matters more than ice quantity. Start with your densest cold sources at the bottom: frozen jugs or block ice. Pack food directly against them, filling gaps with crumpled newspaper to eliminate air pockets. Place drinks and snacks on top beneath a final “cold cap” of ice. This leverages cold air sinking—keeping the entire cooler uniformly chilled.
Why Top-Down Layering Beats Random Packing
In tests, coolers packed with ice only at the bottom developed 60°F zones near the lid within hours. With a frozen base AND top layer, temperatures stayed within 5°F from bottom to top for 60+ hours. Critical mistake: Never let food float in meltwater. Use sealed containers for bread/chips, and position them above the water line.
Use 1-Gallon Frozen Water Jugs Instead of Ice Cubes for 3-Day Trips

Bagged ice melts 3x faster than large blocks due to higher surface area exposure. Your primary cold source should be frozen water in rigid containers: gallon jugs (¾ full), milk cartons, or ice block molds. These last 48+ hours in premium coolers while providing clean drinking water as they melt.
Cube Ice Has One Strategic Role—Don’t Waste It
Reserve bagged ice exclusively for your drink cooler’s top layer. When placed directly under the lid, it creates a cold air barrier that minimizes heat influx during frequent openings. Never mix cubes with block ice in your food cooler—they’ll accelerate melt through convection currents.
Run a Drink Cooler and Food Cooler Separately to Minimize Heat Gain
This is the single biggest upgrade for multi-day trips. Dedicate one cooler solely for food (opened max 2x/day for meal prep) and a second for drinks/snacks (accessed hourly). Your food cooler stays sealed 90% of the time, while the drink cooler absorbs all thermal punishment.
Why This Doubles Effective Ice Life
Every lid opening floods the cooler with 80°F+ air. In a single-cooler system, 10 drink grabs/day raises internal temps by 15°F within hours. With two coolers, the food unit maintains near-constant 34°F temps. For trips under 3 days, even a $20 cheap cooler works perfectly as your “sacrificial” drink unit.
Cover Your Cooler With a Reflective Blanket to Block 30°F+ Heat Gain
Direct sun is your #1 enemy—raising internal temps by 30-40°F versus shade. But “shade” alone isn’t enough. Drape a reflective emergency blanket (Mylar) over the cooler, securing it with bungees. The foil surface deflects 90% of radiant heat, while the air gap between blanket and cooler creates insulating dead space.
When to Add Evaporative Cooling for Desert Trips
In dry climates (<50% humidity), dampen a cotton towel and wrap it over the reflective layer. As water evaporates, it draws heat from the cooler surface—adding 5-10°F of extra cooling. Re-wet every 2-3 hours. Never use this method in humid conditions—it backfires by adding moisture.
Follow the Two-Minute Rule: How Long You Can Leave the Lid Open
Warm air rushes in 20x faster than cold air escapes when you open the lid. The “two-minute rule” is non-negotiable: If you can’t grab items and reseal within 120 seconds, you’ve wasted 5+ hours of ice life. Assign a “cooler captain” to manage access during group meals.
Pre-Organize to Slash Lid Time by 70%
Pack items in clear, labeled bins by meal: “Breakfast,” “Lunch Wrap Fixings,” etc. Store utensils on top under your cold cap. When opening, lift only the top bin—not the entire contents. Testers using this method averaged 45-second lid times versus 3+ minutes for disorganized coolers.
Leave Melt Water Inside: Why 32°F Water Extends Cold Life by Hours
Draining “cold slush” is a critical error. Meltwater at 32°F (0°C) acts as a thermal buffer—it takes significant energy to warm this water before ice starts melting faster. Only drain if water threatens to submerge food (use elevated bins) or during extreme heat (>100°F).
When Draining Makes Sense—and How to Do It Safely
If water rises above food containers, open the drain plug into a bucket for 10 seconds. Never tilt the cooler—that mixes warm surface water with cold depths. Pro move: Pre-thread a siphon tube through the drain plug so you can remove water without opening the lid.
Pre-Freeze Everything: How Solid Food Blocks Replace Ice Packs
Your frozen chili, marinated meats, or fruit smoothie packs aren’t just food—they’re cold reservoirs. Each 1lb frozen item provides equivalent cooling to 1.5lbs of ice. Prioritize freezing high-density foods: meats, soups, and sauces outperform vegetables for cold retention.
The “Ice Bank” Hack for Last-Minute Trips
No time to pre-chill? Freeze water in soda bottles the night before. Pack them vertically around the cooler perimeter—they’ll create a cold wall that insulates the center. In 3-day tests, coolers packed this way maintained safe temps 8 hours longer than those using only bagged ice.
Final Note: Stick to these principles—pre-chill aggressively, pack strategically, shield relentlessly—and your cooler will lock in cold for 72 hours, even in brutal heat. Remember: Your cooler isn’t a fridge; it’s a thermal vault. Keep it sealed, shaded, and densely packed, and you’ll never toss spoiled food again. For extended trips, add a third “ice reserve” cooler with frozen jugs to rotate into your food unit on day two. Now go conquer the weekend—the frosty way.