You pop open your cooler after a sweltering day at the beach, only to find a lukewarm slush instead of crisp drinks. This frustrating experience happens because most people misunderstand how coolers actually function—they don’t generate cold, but instead wage war against heat transfer. Understanding the precise science of thermal insulation, ice’s phase-changing power, and strategic packing transforms your cooler from a simple container into a cold-retention fortress. By the end of this guide, you’ll know exactly why your ice melts too fast and how to keep contents chilled for days, not hours.
Why Your Cooler Fights Heat (Not Creates Cold)
A cooler’s entire purpose is to slow heat infiltration from the outside environment. When you place ice inside, you’re not adding “cold”—you’re introducing a heat-absorbing agent that actively pulls thermal energy from your drinks and food through a powerful physical process.
The Latent Heat of Fusion: Ice’s Secret Weapon
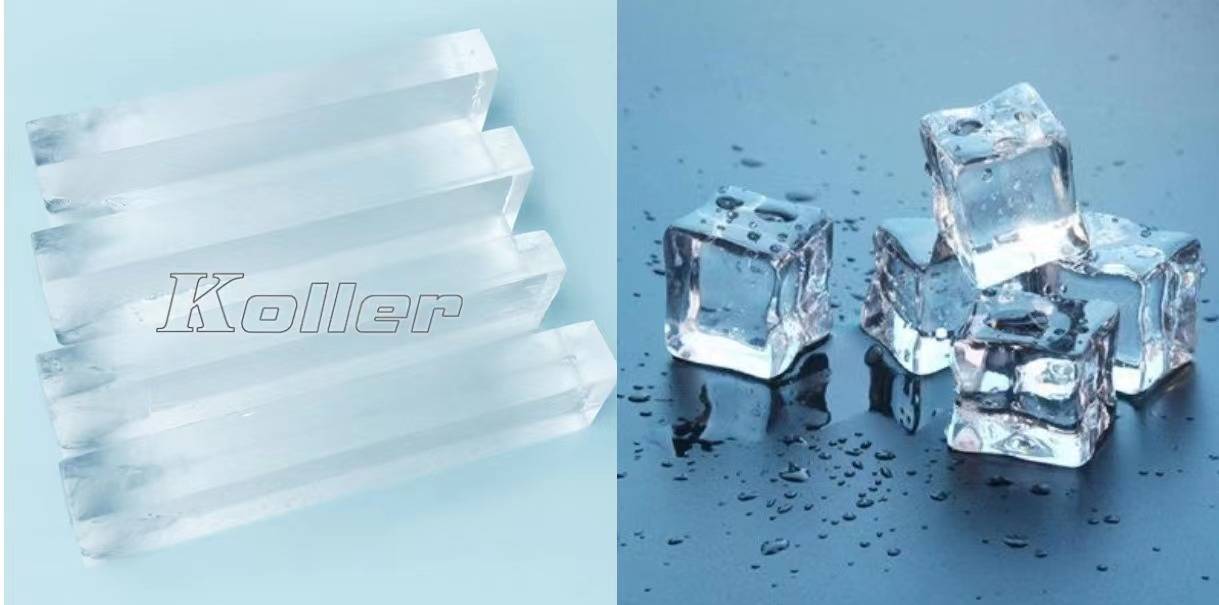
Ice melting isn’t just a state change—it’s a massive heat absorption event. For every kilogram of ice to transform from solid to liquid, it must soak up 333,550 Joules of energy from its surroundings. This energy drain happens without changing the ice’s temperature, creating a sustained cooling effect. Critical insight: A solid 10-pound block of ice lasts 2-3 times longer than the same weight in cubes because its low surface area minimizes contact with warm air. When you toss in cubed ice, its high surface-area-to-volume ratio causes rapid melting and wasted cooling potential.
How Insulation Actually Slows Heat Transfer
The polyurethane foam packed between your cooler’s walls isn’t just fluff—it’s a heat blockade. Closed-cell foam contains millions of trapped air pockets that resist conductive heat flow. Unlike Styrofoam (which has open cells that absorb moisture), high-density polyurethane maintains its insulating power even when damp. Pro tip: Rotomolded coolers like Yeti or RTIC use 3+ inches of this foam, achieving R-values comparable to home insulation—this is why they outperform thin-walled alternatives by 300%.
Ice Strategy: Why Block Ice Beats Cubes Every Time
Your ice choice directly determines how long your cooler maintains sub-40°F temperatures. Most users sabotage their own ice retention by defaulting to convenient but ineffective cubed ice.
Block Ice vs. Cubes: The Melt Rate Showdown
- Solid Block Ice (5-10 lbs): Melts at half the rate of cubes due to minimal surface exposure. Freeze water in clean milk jugs overnight for a DIY solution.
- Commercial Tube Ice: Cylindrical “bullet” ice offers 30% longer retention than cubes by reducing surface area.
- Standard Cubes: Ideal only for short trips—expect 50% melt within 12 hours in 90°F weather.
The physics behind this: Heat transfer occurs only at the ice-air interface. A 10 lb block has just 1-2 square feet of surface area, while the same weight in cubes exposes 15+ square feet—giving heat 10x more entry points.
The Critical Pre-Chill Mistake 90% of Users Make
Dumping ice into a room-temperature cooler wastes 20-30% of your ice melting the plastic itself. Fix this: 12-24 hours before packing, place a “sacrificial” 5-10 lb bag of ice inside your empty cooler. This pre-chills the walls and interior air, reserving your main ice supply for keeping contents cold. For weekend trips, skip this step and you’ll sacrifice a full day of ice retention.
Packing Like a Pro: The Cold Sink Method That Doubles Ice Life
How you load your cooler matters as much as the ice itself. Randomly tossing items in creates air pockets that accelerate warming—strategic packing creates a thermal cascade.
Step-by-Step: Building a Thermal Cascade
- Create your cold foundation: Spread 1-2 inches of crushed ice across the bottom to form a “cold sink” that collects meltwater away from food.
- Install a barrier: Place a wire rack or cut-to-size plastic milk crate over the ice layer to keep items dry while allowing cold air circulation.
- Load strategically: Pack items needed last (like steaks for Day 3) at the bottom, directly against the rack. Place frequently accessed items (drinks, lunch) on top.
- Eliminate air gaps: Fill every void with ice—no empty spaces. A cooler packed 90% full lasts 40% longer than one at 50% capacity because air conducts heat 25x faster than water.
Drain Plug Dilemma: To Drain or Not to Drain?
- For trips under 48 hours: Don’t drain meltwater. The 32°F water bath insulates remaining ice from warm air above, extending life by 12-24 hours.
- For trips over 3 days: Drain water away from the cooler every 24 hours. Standing water conducts heat into food containers and accelerates melting when ambient temps exceed 85°F.
Why Your Cooler Fails: 3 Costly Seal Mistakes
Even premium insulation becomes useless if warm air infiltrates through compromised seals. This is where most coolers fail silently.
The Gasket Check You Must Perform
A proper seal requires the rubber gasket to compress 25% when latched. Test yours: Close the cooler and try lifting the lid—it should resist with a distinct “thunk” and require suction release. Warning: Dirt or food debris in the gasket channel creates micro-leaks. Clean weekly with a baking soda paste and toothbrush, focusing on crevices.
Latch Failures That Melt Ice Overnight
Cheap coolers use plastic latches that warp in heat, breaking the seal. High-end models feature stainless steel T-latches that maintain tension. Pro verification: After latching, run your palm along the lid seam—if you feel warm air, the seal is compromised. This single flaw can cut ice retention by 50%.
Cooler Selection: Matching Build Quality to Your Needs
Not all coolers deliver equal performance. Choosing the wrong type guarantees premature ice melt.
Ice Retention Reality Check (Based on 90°F Testing)
| Cooler Type | Wall Thickness | Ice Retention | Best For |
|---|---|---|---|
| Rotomolded Premium | 3+ inches | 7-10+ days | Multi-day expeditions |
| Mid-Range Hard Cooler | 1.5-2 inches | 2-4 days | Weekend trips |
| Soft-Sided Cooler | 0.5 inches | 12-24 hours | Day trips only |
| Styrofoam | 0.75 inches | 8-12 hours | Emergency/single use |
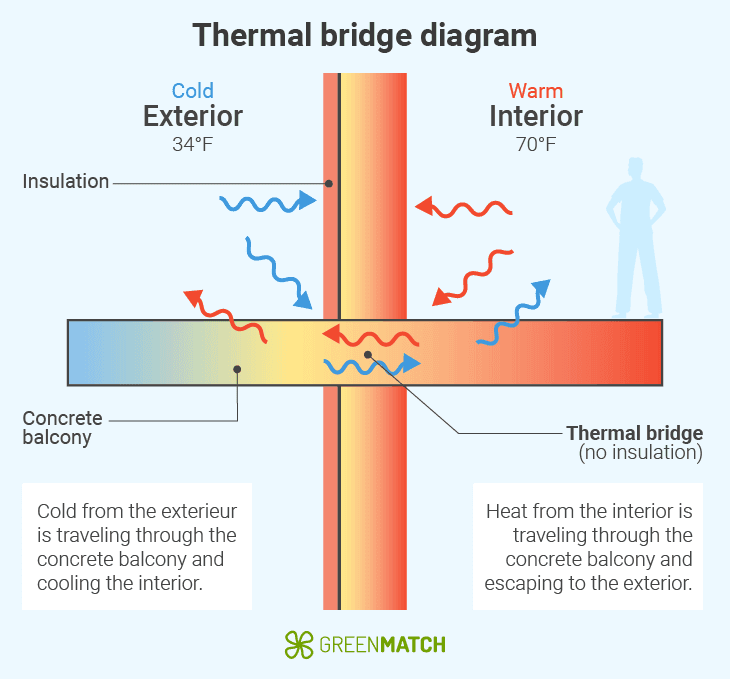
Key differentiator: Rotomolded coolers eliminate “thermal bridges”—points where inner/outer walls connect through hinges or latches. Cheaper models conduct heat through these plastic pathways, creating invisible weak spots.
Maintenance Secrets for Peak Performance
Neglecting post-trip care degrades your cooler’s efficiency faster than you think.
The Post-Trip Deep Clean Protocol
- Remove all debris with a soft brush—never use pressure washers near gaskets.
- Wipe interior with 1:1 water/vinegar solution to kill odor-causing bacteria.
- Dry thoroughly with fans for 48 hours before storage—trapped moisture breeds mildew that insulates against cold.
- Store with baking soda in an open container to absorb residual odors.
Critical note: Never store your cooler latched shut. Prop the lid open with a towel to prevent gasket compression set—a permanent deformation that ruins the seal.
Food Safety: When “Cold Enough” Isn’t Safe Enough
Your cooler must maintain ≤40°F to prevent bacterial growth in the “Danger Zone” (40-140°F). Non-negotiable step: Place a waterproof thermometer in the ice layer. If it reads above 40°F for 2+ hours, discard perishables—even if ice remains. High-end coolers with thick insulation stay in the safe zone 50% longer than budget models during repeated openings.
Your cooler’s performance hinges on three non-negotiable factors: pre-chilling the unit itself, using block ice to leverage latent heat absorption, and eliminating air gaps through strategic packing. By treating your cooler as a heat-defense system—not just an ice bucket—you’ll consistently keep contents colder for 50% longer. For your next trip, skip the cubes, pre-chill 24 hours ahead, and pack in thermal layers—then watch as your cooler outlasts everyone else’s at the campsite. Remember: the coldest coolers aren’t bought, they’re operated with science-based precision.