Your commercial walk-in cooler failing at 2 AM doesn’t just mean repair bills—it risks thousands in spoiled inventory and health code violations. Consistent commercial walk-in cooler maintenance is your frontline defense against these disasters, ensuring food safety while slashing energy costs. This guide delivers the exact maintenance schedule field-tested by restaurant managers to prevent 80% of failures. You’ll learn daily checks that catch problems before alarms sound, weekly tasks to avoid coil clogs, and critical moments when professional help is non-negotiable—so you never face emergency repairs during service.
A single day of downtime can devastate your operation, yet many operators ignore maintenance until temperatures rise. The truth? Simple daily attention prevents compressor burnout and keeps health inspectors satisfied. By implementing these actionable steps drawn from industry best practices, you’ll extend equipment life, maintain perfect food storage conditions, and protect your bottom line. Let’s dive into the specific maintenance rhythm that keeps coolers running flawlessly.
Daily Temperature Logging and Door Seal Checks That Prevent Spoilage
Skipping daily temperature verification is the fastest route to inventory disaster. Your first defense is logging interior temperatures twice daily using a calibrated thermometer—not the unit’s built-in display. Place the thermometer in the warmest spot (usually near the door) and record readings immediately upon opening. A sudden 5°F+ swing from your baseline (typically 34-38°F for coolers) signals trouble like failing defrost cycles or door seal leaks. Critical mistake: Relying on digital displays alone—they often lag actual conditions by hours.
The Dollar Bill Test: Diagnose Door Seal Failure in 60 Seconds
Compromised door gaskets waste 30% more energy by letting cold air escape. Perform this test every morning before service: Close a dollar bill vertically in the door seam at multiple points (top, sides, bottom). If you pull it out with zero resistance, the gasket has failed. Visual cue: Check for cracks, tears, or hardening—brittle rubber won’t reseal properly. Replace gaskets immediately if compromised; temporary fixes like duct tape create contamination risks. Pro tip: Clean gaskets weekly with food-safe disinfectant to prevent mold buildup that accelerates wear.
Weekly Condenser Coil Cleaning That Cuts Energy Bills by 25%

Clogged condenser coils force compressors to work 50% harder, spiking electricity costs. Every Friday, power down the unit at the breaker and clear debris from outdoor condenser units. Follow this sequence:
- Clear the perimeter: Remove leaves, dirt, and obstructions within 3 feet of the unit—restricted airflow causes overheating.
- Gentle debris removal: Use a soft brush (never a pressure washer) to dislodge dust from coil fins. Bent fins reduce efficiency by 20%.
- Deep clean solution: Apply foaming coil cleaner per manufacturer instructions, then rinse from inside outward with low-pressure spray. Critical: Let coils dry completely before restarting to prevent electrical shorts.
Time estimate: 15 minutes. Skipping this step risks compressor burnout—accounting for 40% of emergency service calls.
Monthly Condensate Drain Maintenance to Avoid Floor Flooding
Clogged drain lines cause 30% of walk-in cooler failures, leading to water damage and mold. Monthly, inspect the evaporator drain pan inside your cooler for standing water or slime buildup. Pour a 1:10 solution of warm water and distilled white vinegar down the drain line to dissolve biological growth—never use chemical drain cleaners that corrode lines. For stubborn blockages:
- Attach a wet/dry vacuum to the exterior drain outlet and suction for 2 minutes
- Use a drain bladder (inflatable tool) to dislodge clogs in flexible lines
- Visual cue: Ice forming near the drain pan indicates a frozen line—immediately thaw with warm water
Critical mistake: Ignoring slow drainage. A fully clogged line floods your cooler within 72 hours, risking electrical hazards and structural damage. Always verify the drain line exits properly outside your building.
Quarterly Fan and Motor Inspections That Stop Costly Downtime
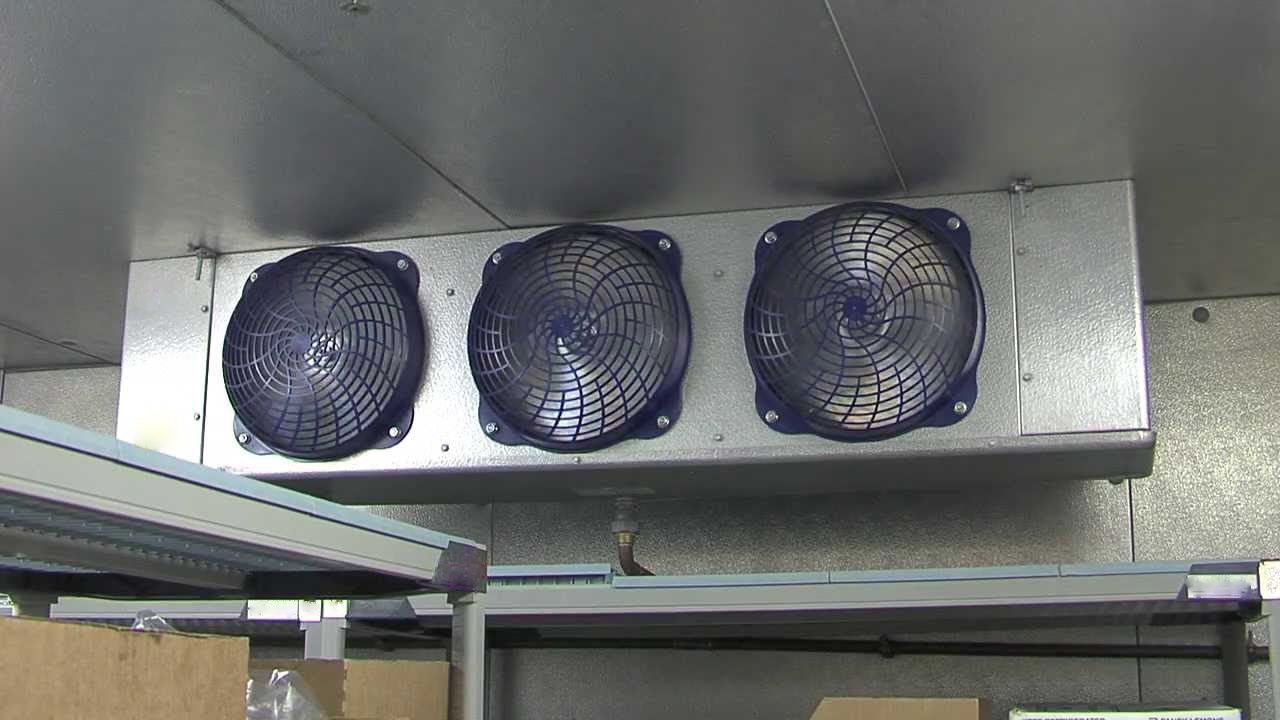
Worn fan motors cause uneven cooling and compressor stress. Every three months, power down the unit and inspect:
- Evaporator fan blades (inside cooler): Check for ice buildup, wobble, or debris. Clean with a soft brush if dusty.
- Condenser fan blades (outside unit): Spin manually—grinding noises indicate failing bearings.
- Motor lubrication: Apply food-safe silicone lubricant to fan shafts and door hinges (never petroleum-based).
Troubleshooting tip: If fans run but temperatures rise, check capacitor connections—loose wiring causes 25% of fan failures. Warning: Unusual squealing means immediate shutdown—continuing operation risks motor seizure.
Semi-Annual Professional Deep Cleaning: Why DIY Isn’t Enough
Twice yearly, schedule a certified technician for tasks beyond DIY scope. Essential services they must perform:
- Evaporator coil deep clean: Removing embedded grease that weekly maintenance misses
- Drain pan sanitation: Eliminating bacterial slime with commercial food-safe solutions
- Defrost system calibration: Verifying timer settings match your usage patterns
Red flag: If coils require professional cleaning more than twice yearly, your kitchen environment has excessive grease—install air filters near fryers. Cost insight: This $150 service prevents $2,000+ compressor repairs by maintaining optimal airflow.
Annual Professional Inspection: The 4 Must-Check Systems

Your yearly technician visit isn’t optional—it’s food safety insurance. Demand these critical checks:
- Refrigerant leak detection: Low charge causes 35% of failures. Technicians use electronic sniffers to find leaks before recharging.
- Electrical component audit: Checking contactors for pitting, capacitors for bulging, and wiring for rodent damage.
- Compressor performance test: Measuring amperage draw—excessive current indicates impending failure.
- Insulation integrity scan: Thermal imaging reveals hidden gaps where cold escapes.
Pro tip: Require a written report detailing superheat/subcooling readings. Consistent metrics prove system health; deviations predict future failures.
Diagnose Walk-in Cooler Failures in 5 Minutes With This Flowchart
Don’t panic when temperatures rise—follow this diagnostic sequence before calling a technician:
- Check power: Verify circuit breakers haven’t tripped (common after storms).
- Inspect coils: Are condenser coils clogged? Clean immediately if dirty.
- Test door seals: Perform the dollar bill test—if failing, replace gaskets.
- Listen for fans: If evaporator fan isn’t running, check for ice blockage.
- Check drain line: Standing water in pan? Clear clogs per monthly procedure.
Critical exception: Turn off the unit immediately for grinding noises or electrical burning smells—these indicate dangerous compressor or wiring failures requiring emergency service.
Why Your Cooler Runs Constantly (And How to Fix It)
Constant operation drains energy and wears components. Most common causes:
- Dirty condenser coils (70% of cases): Clean per weekly procedure
- Failed door gaskets (20%): Replace if dollar bill test fails
- Stuck door switch (10%): Adjust or replace the switch controlling light/fan
Time-saving shortcut: Place your hand near the condenser fan discharge. If air feels barely warm, coils need cleaning; if hot, the system is severely overloaded.
Build a Walk-in Cooler Maintenance Log That Prevents Recurring Issues
A simple logbook catches trends before failures occur. Record these essentials after every maintenance task:
| Date | Task Performed | Temp In/Out | Technician Notes |
|---|---|---|---|
| 10/26/2023 | Condenser coil cleaning, gasket test | 36°F / 21°F | Minor coil debris; seals good |
| 10/19/2023 | Drain line flushed | 35°F / 22°F | Vinegar solution cleared slime |
Pro tip: Track “out” temperatures (condenser discharge)—rising readings indicate declining efficiency. Review logs quarterly to spot patterns like recurring drain clogs needing professional attention.
Final Note: Consistent commercial walk-in cooler maintenance transforms your unit from a liability into a reliable asset. By dedicating 15 minutes daily to temperature logs and gasket checks, 30 minutes weekly for coil cleaning, and scheduling professional deep cleans twice yearly, you’ll avoid 90% of emergency repairs. This isn’t just about fixing problems—it’s about preserving food safety, meeting health code requirements, and protecting your investment. Start your maintenance log today; the small effort now prevents catastrophic losses tomorrow. Remember: when your cooler hums quietly at 37°F while competitors face midnight repair calls, you’ll know your maintenance routine is working.