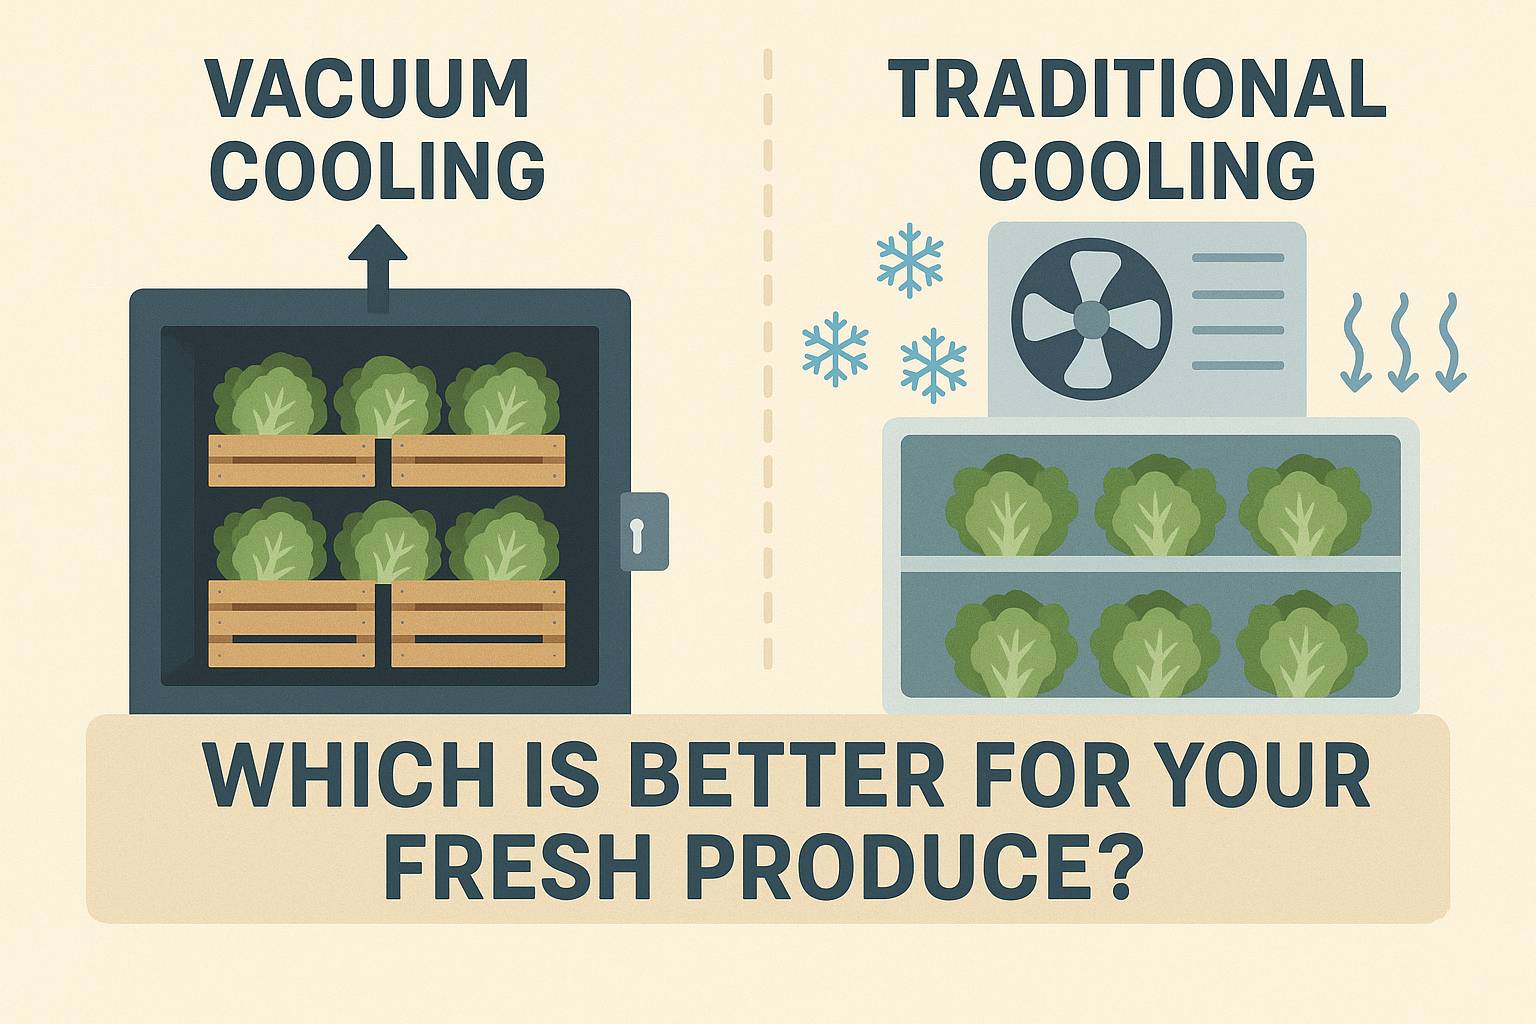
You’ve just harvested crisp lettuce under the blazing sun, but here’s the urgent problem: every minute at field temperature shaves days off its shelf life. Traditional cooling methods can’t save it fast enough—this is where vacuum cooling becomes your produce’s lifeline. How does a vacuum cooler work? It harnesses fundamental physics to slash core temperatures from 77°F to 35°F in just 30 minutes, a speed impossible with conventional refrigeration. Unlike slow forced-air systems that cool from the outside in, vacuum coolers attack heat at its source: the product’s core. By creating a controlled low-pressure environment, they trigger rapid internal evaporation that pulls heat directly from delicate tissues. In this guide, you’ll discover exactly how this technology preserves freshness, which crops benefit most, and why it’s revolutionized the fresh produce supply chain.
The magic happens through evaporative cooling—but accelerated 100-fold by vacuum physics. When water evaporates, it absorbs substantial heat energy from its surroundings (the latent heat of vaporization). Vacuum coolers exploit this by manipulating pressure to make water “boil” at refrigeration temperatures. For leafy greens with 95% water content, this means drawing heat directly from cellular structures rather than waiting for cold air to penetrate dense layers. The result? Produce arrives at supermarkets with peak crispness days after harvest—something traditional methods simply can’t achieve. Let’s break down the exact mechanics that make this possible.
Why Water Boils at 4°C Inside a Vacuum Chamber
How Pressure Dictates Water’s Boiling Point
At sea level, water boils at 212°F because atmospheric pressure (14.7 PSI) holds molecules tightly in liquid form. But reduce pressure inside a sealed chamber to 0.16 PSIA, and water molecules escape easily—boiling occurs at just 39°F. This isn’t theoretical; it’s measurable physics vacuum coolers leverage daily. During evacuation, the chamber’s pressure plummets within minutes, instantly lowering the energy required for water to vaporize. Crucially, this “boiling” happens inside produce cells, not on the surface. For high-moisture crops like spinach, cellular water begins flashing to vapor long before external temperatures drop, initiating core cooling immediately.
Why Evaporation Becomes Your Produce’s Internal Heat Pump
When water transitions from liquid to vapor, it absorbs 540 calories of heat per gram—energy stolen directly from the product’s core. In vacuum cooling, this endothermic reaction happens internally because low pressure penetrates porous tissues. Unlike cold rooms where surface ice forms while cores remain warm, vacuum systems cool uniformly by evaporating moisture from within. The lettuce leaf isn’t just chilled—it actively sacrifices surface moisture to pull heat from its center. This explains why vacuum-cooled produce avoids surface freezing damage: heat removal occurs through cellular evaporation, not external conduction.
4 Critical Components Making Vacuum Cooling Possible

- Insulated Vacuum Chamber: Heavy-duty stainless steel vessels (often pallet-sized) maintain airtight seals during pressure drops. Insulation prevents external heat infiltration during the 30-minute cycle.
- High-Capacity Vacuum Pump: Industrial pumps evacuate air at 1,000+ CFM, dropping chamber pressure to 0.16 PSIA in under 5 minutes—critical for initiating flash evaporation.
- Vapor Condenser Unit: Cools extracted water vapor into liquid using refrigerant coils, preventing pump damage and enabling water recovery (up to 5% of product weight).
- Precision Control System: Pressure sensors and thermocouple probes auto-adjust evacuation speed, stopping cooling exactly at 35°F to avoid over-chilling.
Loading Produce: Avoid These Vacuum Chamber Mistakes

Why Crate Spacing Determines Cooling Uniformity
Overcrowded crates restrict vapor escape paths, creating cold spots and uneven cooling. Always maintain 2-inch gaps between crates—this allows vapor to flow freely toward suction ports. For leafy greens, stack crates vertically but never exceed 80% chamber capacity. Dense stacking traps vapor against produce surfaces, slowing evaporation and reducing cooling speed by up to 40%. Pro tip: Place temperature probes in the geometric center of the load during first runs to verify core penetration.
Sealing and Evacuating: The 90-Second Pressure Drop Window
Why Initial Evacuation Speed Prevents Quality Loss
The first 90 seconds of evacuation are critical—rapid pressure reduction minimizes respiration spikes that degrade produce. Pumps must achieve 0.5 PSIA within 2 minutes to prevent enzymatic browning in cut flowers. Monitor the vacuum gauge closely; if pressure drops slower than 0.1 PSI per 10 seconds, check door seals for debris. A common mistake is delaying pump activation after sealing—every 30 seconds of delay adds 2°F to final core temperature.
Flash Boiling: How Produce “Sweats” Out Its Own Heat
Spotting the Vapor Release Phase Visually
Within 3 minutes of evacuation, visible vapor jets erupt from produce surfaces—this is cellular water flashing to vapor. For lettuce, you’ll see dense fog escaping leaf edges; for asparagus, vapor streams from cut stems. This isn’t steam—it’s pure water vapor at 39°F, confirming active heat absorption. If vapor release is weak or uneven, it indicates insufficient product moisture (below 85%) or chamber leaks. Never open the chamber during this phase; interrupting vapor flow halts the cooling reaction.
Tracking the 30-Minute Core Temperature Plunge
Why Temperature Probes Beat Guesswork
Core temperature drops fastest between 68°F and 41°F—the “danger zone” where decay accelerates. Use wireless probes inserted 2 inches into product centers; healthy cooling shows 5°F/minute drops initially, slowing as cores approach 35°F. If temperatures plateau above 41°F after 20 minutes, increase pump speed or check condenser coil frost buildup. Crucially, vacuum cooling stops automatically when probes hit 35°F—over-cooling causes cellular collapse in delicate greens.
Condenser Operation: Saving Water While Protecting Your Pump
How the Condenser Recovers 95% of Evaporated Moisture
Water vapor exiting the chamber enters refrigerated condenser coils at 39°F. Here, vapor immediately liquefies into pure water (collected in a recovery tank), preventing two disasters: vapor entering the pump (causing oil emulsification) and environmental moisture loss. A clogged condenser shows as rising chamber pressure during cooling—clean coils weekly with food-grade descalers. This closed-loop system recovers 4-5% of product weight as water, reducing agricultural waste.
Ventilating and Unloading: Preventing Reheating Damage
The Critical Pressure Equalization Step
After reaching 35°F, never vent the chamber abruptly. Gradual air reintroduction (over 3-5 minutes) prevents:
– Thermal shock cracking delicate petals in cut flowers
– Moisture condensation on cold surfaces (causing mold)
– Pressure differentials collapsing soft produce like mushrooms
Listen for the hiss of air valves—rapid venting creates loud rushing sounds indicating dangerous pressure spikes. Only unload when internal pressure matches ambient (verified by gauge).
Top 4 Advantages That Make Vacuum Cooling Non-Negotiable for Produce
- Speed: Cools 5x faster than forced-air systems—critical for reducing “field heat” that degrades quality within 2 hours of harvest
- Uniformity: Eliminates cold spots by cooling from the core outward (proven by thermal imaging studies)
- Shelf Life Extension: Slows respiration rates by 90%, adding 7-10 days of marketability to leafy greens
- Quality Preservation: Maintains turgor pressure for crispness while locking in vitamins (unlike ice-cooled produce that loses nutrients to meltwater)
Lettuce vs. Carrots: Which Crops Actually Benefit From Vacuum Cooling
Ideal Candidates: High-Moisture, Porous Produce Only
Vacuum cooling works exclusively for crops with:
– >85% water content (lettuce, spinach, broccoli, cut flowers)
– High surface-area-to-volume ratio (leafy structures, thin stems)
– Porous cellular structure allowing vapor escape (mushrooms, asparagus)
Dense, low-moisture produce like potatoes or carrots lack sufficient evaporative capacity—their cores barely drop 5°F in 30 minutes. Attempting vacuum cooling on these wastes energy and causes surface dehydration without meaningful core cooling. Always test moisture content first; below 80% water, traditional refrigeration remains superior.
When Vacuum Cooling Fails: Root Vegetables and Dense Produce
Why Carrots and Beets Resist Vacuum Cooling Physics
Root vegetables have tightly packed cells with minimal air channels—water vapor can’t escape during evacuation. Pressure drops occur, but without vapor release, no evaporative cooling happens. After 30 minutes, carrot cores might only reach 50°F (vs. 35°F for lettuce). Worse, surface moisture loss creates shriveled, unmarketable produce. For these crops, hydrocooling (ice-water immersion) remains the fastest alternative. Never force vacuum cooling on unsuitable produce—it damages quality while wasting 50+ kWh per cycle.
Vacuum coolers transform physics into profit by exploiting how pressure changes water’s behavior—turning evaporation into an internal heat pump that rescues produce from rapid decay. The key takeaway? This technology isn’t just “cooling faster”; it cools differently by extracting heat directly from cellular structures through controlled vaporization. For high-moisture crops like lettuce, it’s non-negotiable for maintaining supermarket-quality freshness. If you handle leafy greens, spinach, or cut flowers, implement vacuum cooling within 2 hours of harvest to lock in peak quality. For dense produce, explore hydrocooling alternatives—but always prioritize speed. The next time you crunch into crisp supermarket lettuce days after harvest, remember: vacuum cooling made that possible by answering one critical question—how does a vacuum cooler work—with elegant scientific precision.