Nothing ruins a day at the lake or a weekend camping trip faster than warm beer and spoiled sandwiches. If your Igloo cooler isn’t keeping contents cold for as long as promised, you’re likely missing critical setup steps that transform it from a simple container into a temperature-locking powerhouse. Properly using your Igloo cooler—whether it’s the classic metal-lever model or a modern wheeled version—requires specific techniques for loading, temperature control, and maintenance. By mastering these methods, you’ll consistently keep drinks icy for 5+ days and perishables safe even in 90°F heat. This guide reveals exactly how to leverage your cooler’s engineering for maximum performance on every outing.
Most users make the critical mistake of throwing ice and drinks into a room-temperature cooler. That empty space filled with warm air immediately starts melting your ice before the cooling cycle even begins. The secret? Your Igloo isn’t just a storage bin—it’s an insulated system designed to trap cold, but only when activated correctly. Within these pages, you’ll discover the exact ice-to-content ratios top adventurers use, how to diagnose why your cooler loses cold in 24 hours, and the 30-second pre-trip ritual that doubles ice retention. Stop guessing and start guaranteeing cold success with your Igloo.
Set Your Igloo Cooler to Icemaker Mode for Fast Freezing
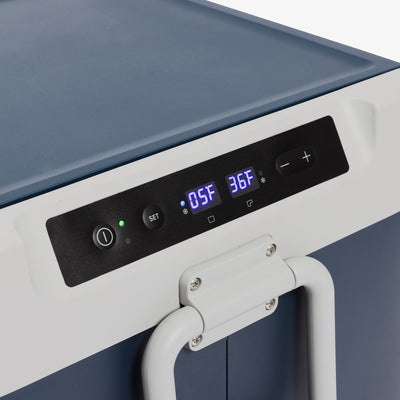
Modern Igloo models with compressor technology feature three distinct cooling modes that dramatically impact performance. Using the wrong setting wastes battery and melts ice prematurely. The Icemaker mode is exclusively for creating ice from liquid water. When activated, the compressor runs at maximum power to freeze water in the included ice tray within 2-3 hours. For best results, fill the tray no more than ¾ full to prevent overflow during expansion. Never use this mode when storing pre-frozen items—it overworks the system unnecessarily.
Activate Super Cool for Rapid Beverage Chilling
The Super Cool setting is your secret weapon for last-minute trips. Unlike Icemaker mode, this setting blasts freezing air to drop drink temperatures from room temperature to 38°F in under 30 minutes. Ideal when packing the cooler right before leaving, it rapidly chills pre-loaded contents but should only run for 1-2 hours. Extended use drains battery life and causes excessive frost buildup. Always switch to Normal mode after initial cooling to maintain temperature efficiently.
Maintain Food Safety with Normal Cooling Mode
Normal mode is your workhorse setting for all-day temperature control. It cycles the compressor to maintain a steady 32-40°F range—the critical zone for food safety during extended trips. This setting preserves battery life while preventing both freezing (which damages produce) and dangerous warming. For multi-day excursions, engage Normal mode immediately after the initial Super Cool phase. You’ll recognize proper operation when the internal fan runs intermittently rather than constantly.
Pre-Chill Your Igloo Cooler Before Loading
Skipping pre-chilling is the #1 reason ice melts within hours. A room-temperature cooler interior steals precious cold energy from your ice before contents even go in. Always pre-chill for 30 minutes using either 2 large ice packs or 5 pounds of block ice placed in the empty cooler. Close the lid during this phase to trap the initial cold cycle. When you lift the lid after 30 minutes, you should feel noticeably colder air—a sign the insulation is activated and ready.
Why 30 Minutes Makes a 24-Hour Difference
This brief pre-chill period saturates the cooler’s walls and lid with cold, creating a thermal buffer. Without it, the first 30% of your ice melts just cooling the plastic interior instead of your drinks. Test this yourself: load one pre-chilled cooler and one room-temperature cooler with identical ice and contents. By hour 12, the pre-chilled version maintains 15°F lower internal temperatures. That difference keeps meat safely below 40°F for 48+ hours.
Pack Ice and Food in the Correct Ratio for Long-Lasting Cold
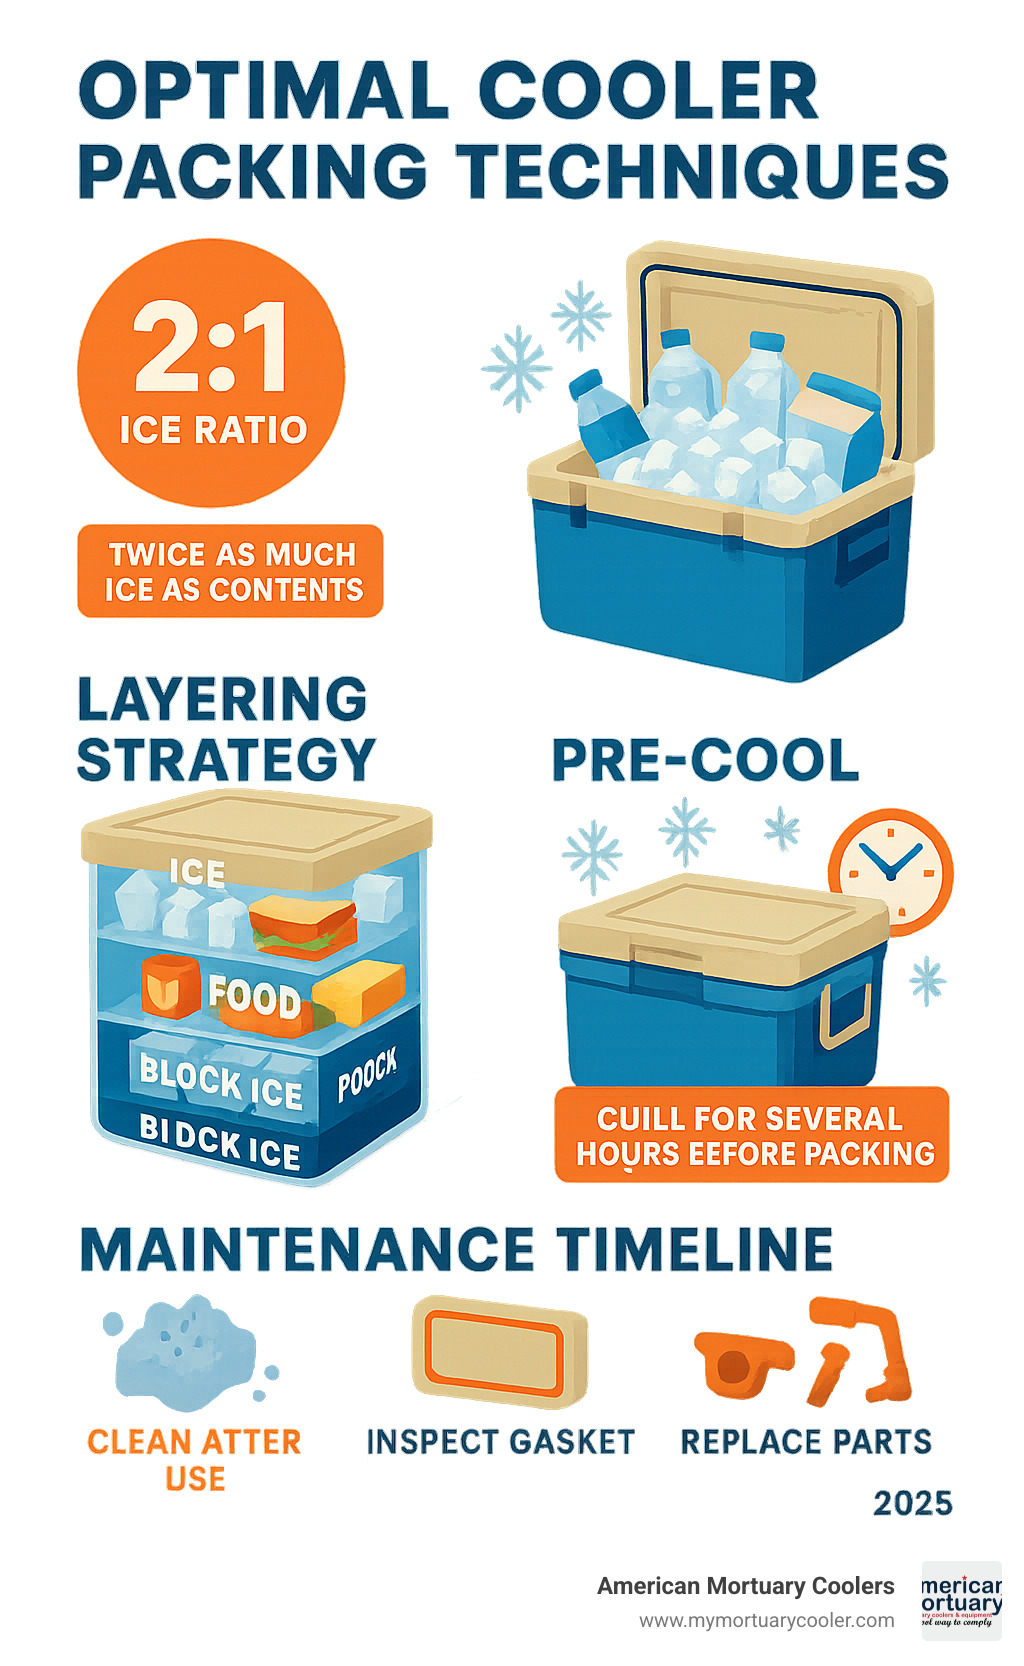
How you layer contents determines whether your ice lasts 12 hours or 5 days. The golden rule: eliminate air space. Air transfers heat 25x faster than ice, so empty pockets become melting accelerators. Start with a 2-3 inch base layer of ice covering the entire floor. Place dense, temperature-sensitive items like meat packs directly on this layer. Fill vertical gaps with ice cubes or crushed ice—never leave voids between bottles or containers.
Layer Ice and Contents to Minimize Air Space
Follow this sequence for optimal results:
1. Place block ice (or large ice packs) along the cooler’s longest side wall
2. Set drinks/containers upright against the ice
3. Fill remaining gaps with cubed ice
4. Top with a final 2-inch ice layer before closing the lid
This creates a cold “sandwich” where ice contacts contents from all sides. For upright coolers, keep the ice layer thicker at the bottom since cold air sinks. Never place warm items directly against the lid—that’s the weakest insulation point.
When to Keep the Drain Plug Closed vs. Open
Drain plug management is critical for temperature retention. Keep it closed during trips to trap cold meltwater, which acts as a secondary cooling layer. Opening it drains this “cold reservoir,” causing ice to melt 30% faster. Only open the plug when actively draining near the end of a trip. When draining, tilt the cooler backward 15 degrees to ensure complete water evacuation—residual water breeds bacteria and odors. Always drain away from campsites to avoid attracting wildlife.
Clean Your Igloo Cooler After Every Trip to Prevent Odors
Residual moisture and food particles turn your cooler into a bacterial breeding ground within hours. Cleaning within 24 hours of returning prevents permanent stains and odors. Start by removing all contents and wiping visible debris with a paper towel. Then scrub all surfaces—including the lid gasket channel—with a solution of 1 tablespoon mild dish soap per quart of warm water. Avoid bleach or ammonia-based cleaners; they degrade insulation and leave chemical odors that transfer to food.
Remove Stains and Odors with Baking Soda Solution
For stubborn stains or lingering smells, mix ¼ cup baking soda with 1 quart warm water. Dip a soft cloth into the solution and scrub problem areas, focusing on corners where mold hides. For deep-set odors, fill the cooler with this solution, close the lid, and let it sit for 2 hours before rinsing. Never use abrasive pads—they scratch surfaces, creating grooves where bacteria thrive. Rinse thoroughly with clean water until no suds remain.
Check and Maintain the Lid Seal for Maximum Insulation
A compromised lid seal is the silent killer of cooling performance. After cleaning, inspect the rubber gasket for cracks, food debris, or warping. Wipe it with a damp cloth to remove sugar residues that attract ants. Test seal integrity by closing the lid on a dollar bill—if you can pull the bill out easily at any point, the seal needs replacement. Properly maintained, gaskets should form an airtight “suction” sound when latched. Replace damaged seals immediately using Igloo’s model-specific kits.
Optimize Ice Types for Day Trips vs. Extended Adventures
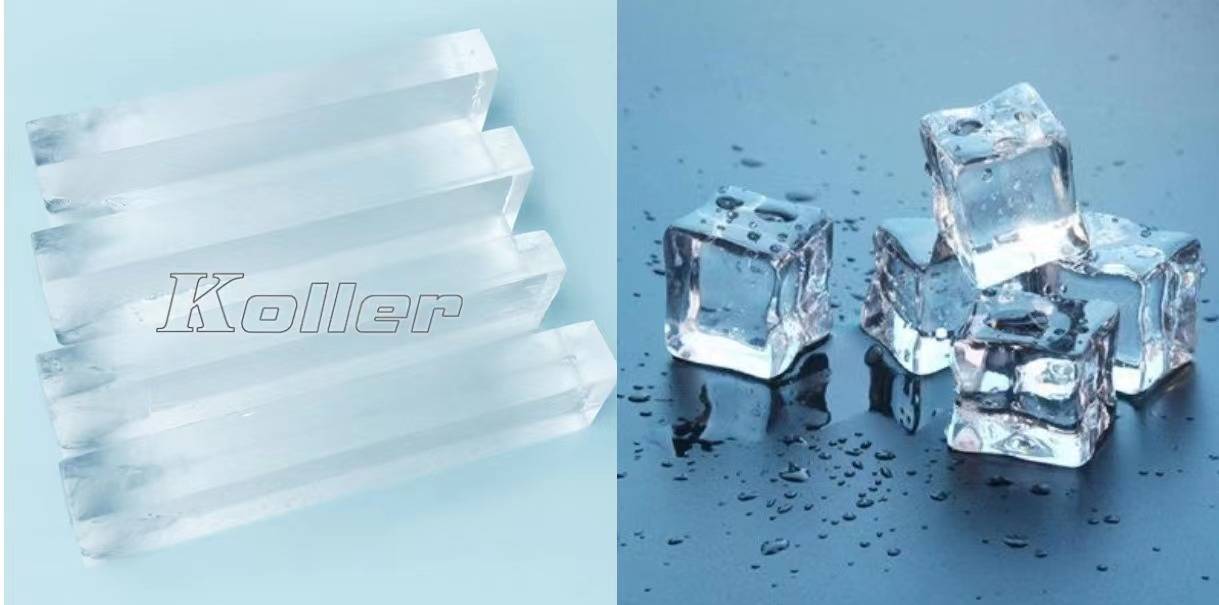
Your ice choice directly impacts cooling duration. For weekend trips (2-3 days), use a 2:1 ratio of block ice to cubed ice. Block ice (like 10-pound bricks) melts 50% slower than cubes, while cubes fill gaps for rapid chilling. Freeze cubes in saltwater for even slower melting—salt lowers the freezing point, creating denser ice. For day trips, pre-freeze water bottles overnight; they double as ice packs and emergency drinking water when melted.
Protect Perishables with Top and Bottom Ice Layers
Meat and dairy require aggressive temperature control. Place a solid block of ice at the very bottom of the cooler, then set a waterproof container of raw meat on top. Cover the meat with another ice layer before adding other contents. This creates a cold “vault” where meltwater continuously bathes the meat. Never store meat above drinks—meltwater contamination is a food safety hazard. Use insulated containers for extra protection during hot-weather trips.
Fix a Leaky Igloo Cooler Lid Seal in 3 Steps
If your cooler loses cold within 24 hours, the lid seal is likely failing. First, clean the gasket channel thoroughly with soapy water to remove debris preventing a tight seal. Second, apply petroleum jelly sparingly along the gasket to restore flexibility in dried rubber. Third, if gaps remain, replace the seal using Igloo’s online gasket finder tool—enter your model number to get the exact replacement part. A proper seal should require noticeable force to open and produce a distinct “pop” sound when unlatched.
Store Your Igloo Cooler Properly for Long-Term Durability
Storing a damp cooler guarantees mold growth and permanent odors. After final cleaning, air-dry for 72 hours with the lid fully open and drain plug removed. Place it upright in a shaded, well-ventilated area—not in a garage where temperature swings cause condensation. For seasonal storage, place an open box of baking soda inside to absorb residual moisture. Store upright in a cool, dry place away from direct sunlight, which degrades plastic over time. Never stack heavy items on top—that warps the lid and breaks the seal alignment.
Your Igloo cooler’s performance hinges on three non-negotiable habits: always pre-chill before loading, eliminate air gaps when packing, and clean/dry within 24 hours after trips. Master these, and you’ll consistently achieve the 5+ day ice retention Igloo engineers designed. For extended adventures, combine block ice at the base with frozen water bottles on top—they melt slower than cubed ice while providing emergency drinking water. Remember that a well-maintained cooler isn’t just convenient; it prevents foodborne illness by keeping perishables below 40°F. Ready for your next adventure? Grab your pre-chilled Igloo, load it using these precise methods, and enjoy perfectly cold drinks from the first hour to the last.