Picture this: you’ve packed your cooler with premium ice cream for a weekend camping trip, only to discover a soupy mess when you open it on day two. The exact time ice cream stays frozen in a cooler depends on specific conditions you can control—your cooler quality, packing technique, and environmental factors. Under optimal conditions with proper preparation, you can keep ice cream solid for up to four days, while poorly packed coolers might fail within hours. Understanding the precise factors that affect frozen dessert preservation will save your treats and prevent food safety risks.
Most people don’t realize that ice cream begins deteriorating at temperatures as low as 10°F (-12°C)—well below the standard freezer temperature of 0°F. Once ice cream warms beyond this threshold, the delicate emulsion breaks down, leading to large ice crystals and grainy texture upon refreezing. By following science-backed techniques for cooler preparation and packing, you’ll maintain that perfect scoopable consistency from departure to destination.
Why Your Premium Ice Cream Melts Faster Than Expected
The surprising reality is that most coolers can’t maintain true frozen temperatures for extended periods without strategic intervention. Your ice cream’s survival time depends on three interconnected factors you can control before departure.
How Cooler Quality Directly Determines Ice Cream Longevity
Premium rotomolded coolers like Yeti or RTIC with 2-3 inches of polyurethane foam insulation maintain ice cream in a solid state for 4-6 days under ideal conditions—nearly twice as long as standard hard-sided coolers. The critical difference lies in the R-value: quality coolers achieve R-7 to R-15 insulation values, while budget models often fall below R-5. Pay special attention to lid seals; aged or compressed gaskets can reduce cooling efficiency by 30-50%, turning your frozen dessert into a slushie within hours.
Why Pre-Chilling Your Cooler Is Non-Negotiable
Starting with a room-temperature cooler sabotages your efforts before you even pack it. Pre-chilling your empty cooler with ice packs for 12-24 hours before loading improves thermal performance by up to 40%. This crucial step chills the cooler walls themselves, preventing them from immediately absorbing cold energy from your ice cream. Without this preparation, your ice cream faces an immediate temperature spike as the cooler interior absorbs heat from the insulated walls—a phenomenon that can raise ice cream temperature by 5-10°F within the first hour.
Environmental Factors That Shorten Your Ice Cream’s Lifespan
Each 10°F increase in ambient temperature above 70°F accelerates ice melt by 15-20%. A cooler in direct sunlight on a 95°F day performs 30-40% worse than the same cooler in shade at 75°F. Even more damaging is frequent opening—each time you lift the lid in warm conditions, you lose 30-40% of the cold air, potentially reducing your ice cream’s frozen lifespan by 2-3 hours per opening. Plan all cooler access in advance to minimize these temperature spikes that destroy ice cream texture.
The Exact Ice-to-Ice Cream Ratio That Preserves Texture
Not all cooling methods work equally for maintaining ice cream’s delicate frozen state. Understanding the thermal properties of different cooling agents determines whether your dessert remains scoopable or turns into an icy mess.
Why Block Ice Outperforms Cubed Ice for Frozen Treats
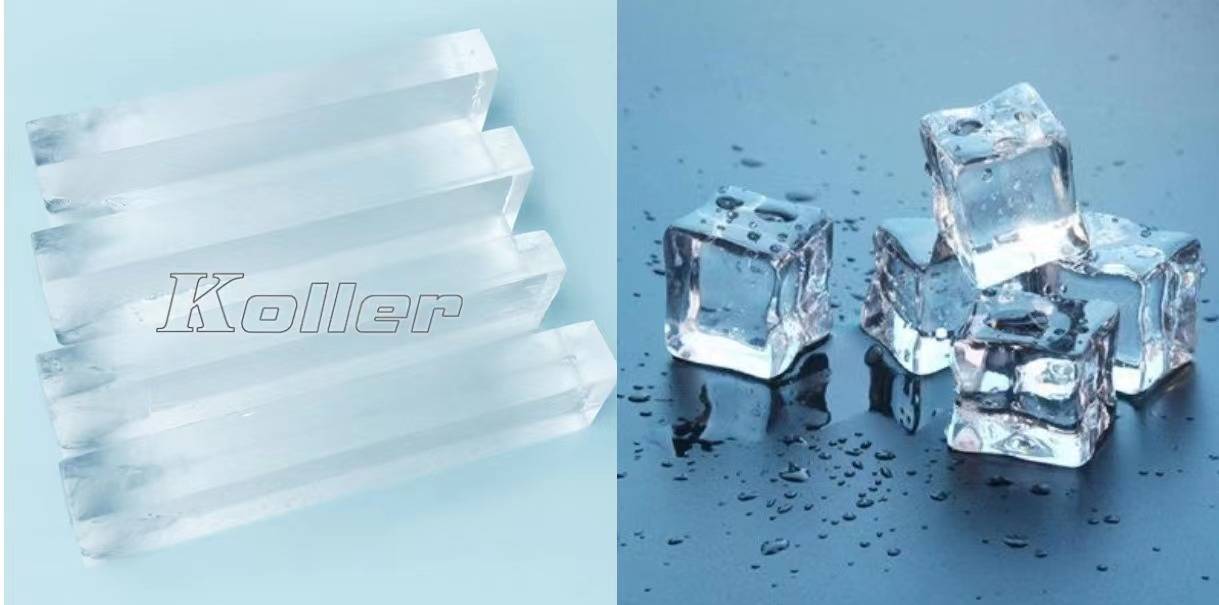
Block ice lasts 3-4 times longer than cubed ice due to its lower surface-area-to-volume ratio. While cubes melt at 2-3°F per hour in warm conditions, quality block ice melts at just 0.5-0.75°F per hour in premium coolers. For ice cream preservation, use a 2:1 ratio of block ice to ice cream volume—this creates sufficient thermal mass to maintain temperatures below 10°F. When purchasing block ice, request 10-20 pound blocks specifically designed for extended cooling performance.
Dry Ice: The Secret Weapon for Multi-Day Ice Cream Trips
For trips exceeding 48 hours, dry ice (-109.3°F) provides unmatched cooling power, extending ice cream’s frozen state to 4-7 days in quality coolers. Use 5-10 pounds of dry ice per 24 hours of expected cooling time, always placing it at the bottom of the cooler with a protective barrier (newspaper or cardboard) between the dry ice and your ice cream. Critical safety note: Always transport dry ice in a well-ventilated vehicle and wear cryo-gloves rated to -109°F during handling—direct skin contact causes severe frostbite in seconds.
Your Step-by-Step Ice Cream Packing Protocol
Follow this exact sequence to maximize frozen dessert preservation, with timing estimates for each critical phase.
Pre-Packing Preparation (24 Hours Before Departure)
- Pre-chill your ice cream to -20°F by placing it in your freezer’s coldest section (typically the back) for 24 hours—this extends its frozen window by 30-50%
- Freeze water bottles (leave 1-inch headspace for expansion) to use as dual-purpose cooling elements and drinking water
- Pre-chill the cooler by filling it with ice packs and closing the lid for 12-24 hours before packing
The 5-Minute Packing Sequence That Preserves Texture
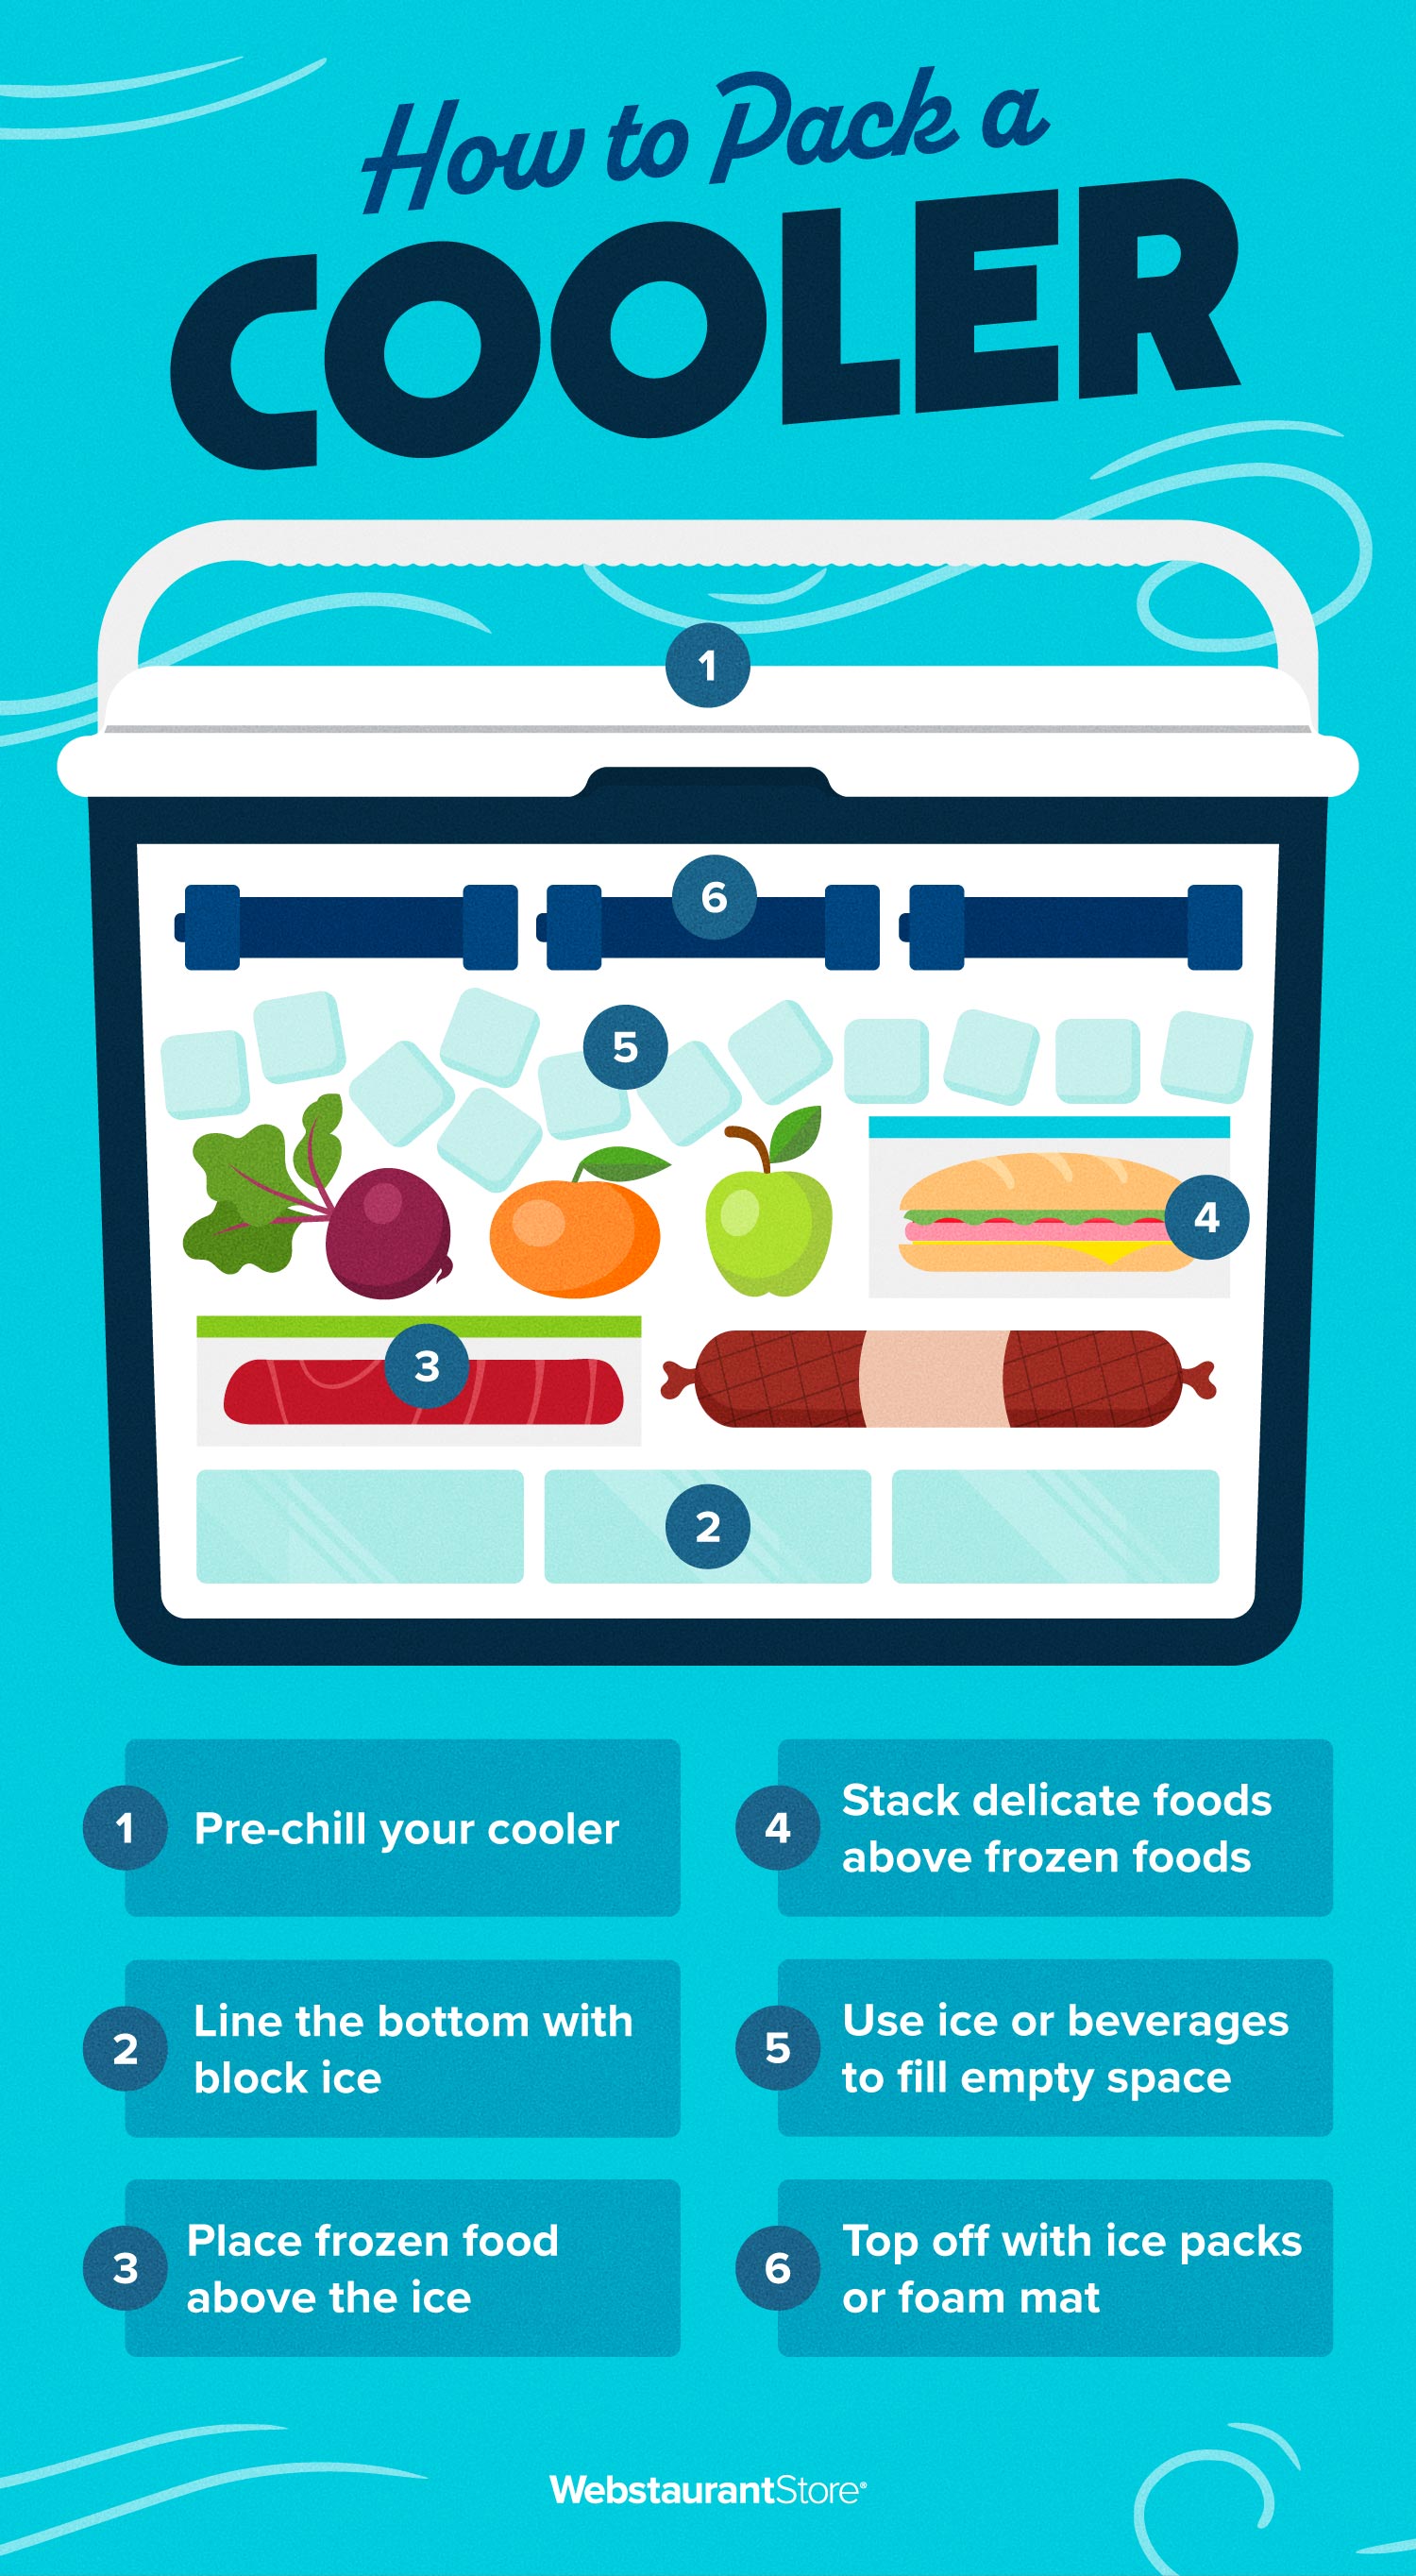
- Create your cold foundation: Place a 2-3 inch layer of block ice or dry ice (with protective barrier) at the bottom
- Position your ice cream: Place containers directly on the cold foundation—never on top of other items
- Surround with thermal mass: Position frozen water bottles and gel packs immediately around the ice cream containers
- Eliminate air pockets: Fill all remaining space with crumpled newspaper or towels—dead air space reduces cooling efficiency by 7% per 10% of volume
- Seal with top insulation: Add a final layer of ice packs followed by a towel or closed-cell foam sheet before closing the lid
Cooler Type Performance: How Long Each Actually Keeps Ice Cream Frozen

Your choice of cooler directly determines whether your ice cream remains frozen or becomes a safety hazard.
Premium Rotomolded Coolers (Yeti, RTIC, Orca)
With proper packing, these coolers maintain ice cream below 10°F for 4-6 days. Their 2-3 inch polyurethane foam walls and marine-grade rubber gaskets create an R-10+ insulation barrier that slows heat transfer significantly. Expect to pay $200-$400 for this level of performance, but the investment pays off for regular outdoor enthusiasts.
Standard Hard-Sided Coolers (Coleman Xtreme)
These budget-friendly options keep ice cream frozen for 1.5-2.5 days when packed correctly. Their thinner insulation (1-1.5 inches) and less effective gaskets make them suitable only for weekend trips. To maximize performance, use double the recommended ice and keep the cooler in constant shade.
Soft-Sided Coolers: Why They Fail for Ice Cream Transport
Despite marketing claims, soft-sided coolers maintain true frozen temperatures for only 4-8 hours—barely enough for a day trip. Their thin insulation (typically 0.5 inches) and zipper seals allow rapid heat transfer, making them unsuitable for ice cream transport beyond very short durations.
Danger Signs Your Ice Cream Is Unsafe to Eat
Even partially melted ice cream poses significant risks if improperly handled.
Temperature Danger Zones You Must Monitor
Ice cream becomes unsafe when it enters the temperature danger zone (above 25°F) for more than 2 hours. Use a digital thermometer to check the core temperature—anything above 10°F indicates potential quality degradation, while readings above 20°F mean ice crystal formation has begun. If your ice cream reaches 32°F and refreezes, bacterial growth may have occurred even if it appears solid.
Texture Clues That Signal Spoilage
Large, crunchy ice crystals throughout the container indicate multiple thaw-refreeze cycles that compromise both texture and safety. An overly grainy, icy texture rather than smooth creaminess means the emulsion has broken down. Never consume ice cream with off odors or sour smells—these indicate bacterial growth even if the product appears frozen.
4 Proven Techniques for Extreme Ice Cream Preservation
The Vacuum-Insulated Container Method
Place your ice cream in a vacuum-insulated flask (like those used for coffee) before putting it in the cooler—this creates a secondary insulation barrier that extends frozen time by 40-60%. The double-walled construction with vacuum insulation adds significant thermal resistance to your primary cooling system.
Sub-Zero Temperature Buffering
Surround ice cream containers with gel packs specifically designed for -20°F temperatures rather than standard freezer packs. These specialized phase-change materials maintain a consistent sub-zero environment longer than regular ice, preventing the temperature fluctuations that cause ice crystal formation.
The Shade Rotation System
Position your cooler so the lid faces north (in the Northern Hemisphere) to minimize sun exposure throughout the day. Rotate the cooler 90 degrees every 3 hours to ensure even heat distribution—this simple technique extends frozen time by 15-20% in sunny conditions.
Real-Time Temperature Monitoring
Place a Bluetooth thermometer probe directly into your ice cream container before sealing the cooler. Set alerts for when temperatures approach 10°F—this early warning system gives you time to implement emergency cooling measures before quality degrades.
Final Note: By implementing these science-backed techniques, you’ll transform your ice cream transport from a gamble into a reliable process. The key takeaway is that proper preparation—particularly pre-chilling your cooler and using sufficient thermal mass—matters more than the cooler’s price tag. For extended trips, combine dry ice with strategic packing to maintain that perfect frozen texture for days. Remember that ice cream texture begins deteriorating at temperatures well below standard freezer levels, so monitor carefully and consume within the safe window to enjoy your frozen treats exactly as intended.