When your AC bill skyrockets during a scorching desert summer, there’s a smarter solution hiding in your garage: a DIY evaporative cooler. This energy-sipping alternative cools homes in dry climates using just water and airflow—slashing energy use by 75% compared to traditional AC. Unlike refrigerant-based systems, these “swamp coolers” pull hot, dry air through water-soaked pads where evaporation naturally chills the air before blowing it into your space. You’ll learn exactly how to make evaporative cooler units that deliver real cooling for under $100, with step-by-step instructions tested in arid environments where humidity stays below 50%. By the end, you’ll have a functional cooler that cuts cooling costs while pumping fresh, filtered air into your home—no complex tools required.
Choosing the Right Cooling Pad for Maximum Chill
Your pad determines whether you get refreshing relief or lukewarm disappointment. Skip flimsy towel hacks—commercial cellulose pads deliver serious cooling by forcing air through thousands of microscopic water channels that maximize evaporation. Aspen wood pads cost less but degrade fast in hard water, developing musty odors as mineral scale clogs their fibers. For lasting performance, select rigid cellulose pads (6-12 inches thick) with corrugated channels—these handle mineral buildup better and cool air 15-20°F below ambient temperature in dry heat. Measure your fan diameter first: a 12-inch fan needs at least 144 square inches of pad surface. Pro Tip: Pre-soak new pads in vinegar for 30 minutes to neutralize alkaline residues that reduce cooling efficiency. Avoid pads thinner than 2 inches—they won’t give air enough contact time for effective evaporation.
Why Cellulose Outperforms Aspen in DIY Setups
Cellulose pads’ plastic-encased honeycomb structure resists warping and maintains even water distribution—critical when using gravity-fed drip systems. Aspen pads absorb water unevenly, creating dry spots that let hot air bypass the cooling zone. In a side-by-side test, cellulose maintained 85% saturation after 8 hours of runtime while aspen dropped to 60%, cutting cooling output by nearly half. Replace aspen pads every 6 months; cellulose lasts 2-3 seasons with monthly vinegar soaks.
Sizing Your Pad for Optimal Airflow
Too small, and hot air overwhelms the cooling effect. Too large, and your fan struggles to pull air through. Calculate needed pad area: multiply fan diameter (inches) by π (3.14), then multiply by pad thickness. For a 12-inch fan with 4-inch pads: 12 × 3.14 × 4 = 150 square inches minimum. Warning: Never force pads into tight spaces—gaps around edges let uncooled air leak through, reducing effectiveness by 30%.
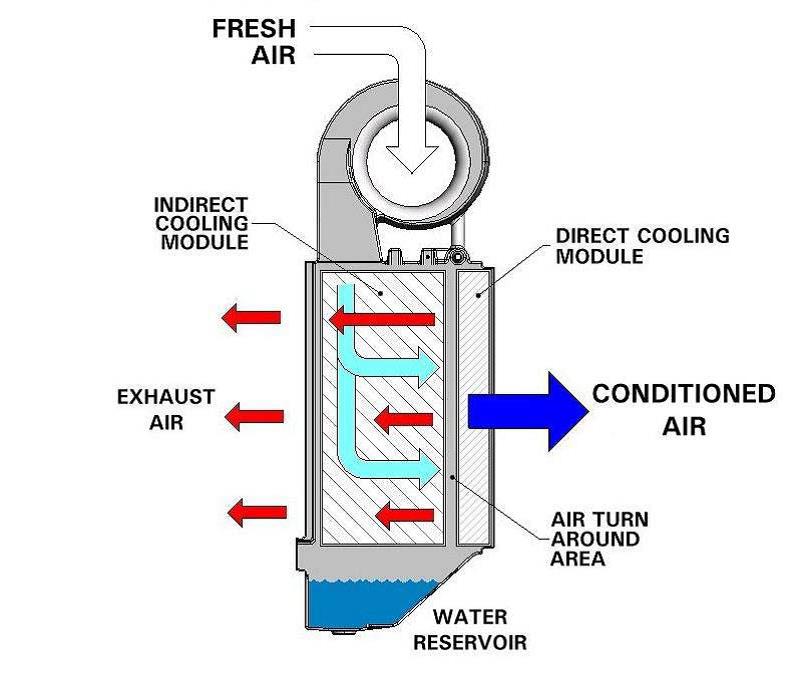
Building the Water Circulation System That Won’t Fail
:max_bytes(150000):strip_icc()/parts-of-a-swamp-cooler-2718628-a477e6f0787b4f8bb62ddf2def31d495.png)
A clogged pump or dry pad ruins cooling instantly. Your system must maintain consistent saturation without constant babysitting. Start with a 200-500 GPH submersible pump (like a pond pump)—enough to lift water 12 inches to your distribution pipe. Hard water areas need a filter: wrap the pump intake in nylon mesh to catch debris. For distribution, skip spray nozzles—they clog fast. Instead, drill 1/8-inch holes every 2 inches along a PVC pipe mounted horizontally above the pad. Angle holes downward so water drips directly onto the pad surface.
Installing Foolproof Water Level Control
Manual refilling invites pump burnout. Install a toilet-style float valve: drill a 1-inch hole near the bucket’s top rim, insert the valve assembly, and connect a garden hose adapter. Set the float to maintain 2 inches of water depth—enough to cover the pump but shallow enough for rapid evaporation. Critical Safety Step: Always use distilled or softened water. Tap water leaves limescale that clogs pumps within weeks. In hard water areas, add 1 cup white vinegar to the reservoir weekly to dissolve deposits.
Preventing Algae and Mold in 30 Seconds
Stagnant water breeds slimy growth that blocks pads. After filling the reservoir, add 1 tablespoon of household bleach or 2 capfuls of commercial water treatment. This keeps pads clean for 2 weeks without affecting cooling. Never skip this—algae-coated pads lose 40% efficiency in 10 days.
Assembling Your Cooler in Under 2 Hours
A 5-gallon bucket transforms into a powerful cooler faster than ordering delivery. Work on a dry surface with all parts pre-cut. Allow 90 minutes for assembly plus 30 minutes for testing.
Cutting Perfect Airflow Openings

Drill a 12-inch square hole 3 inches above the bucket’s base for the pad. Opposite it, cut a 10-inch circle for the fan—position it 1 inch from the top so cooled air exits cleanly. Visual Cue: Hold the fan against the hole; you should see 1/4-inch clearance all around for unobstructed airflow. Sand rough edges to prevent pad damage.
Mounting the Fan for Maximum Pull
Secure a 12-inch axial fan (12V DC, 100+ CFM) with zip ties through the bucket wall. Wire it to a 12V power supply using waterproof connectors. Critical Setup: Position the fan to pull air through the pad and out the top. Pushing air creates pressure that forces water droplets into your room. Test: hold tissue near the pad—it should stick firmly when the fan runs.
Final Leak-Proof Connections
Submerge the pump in the bucket’s base. Connect tubing from the pump to your distribution pipe. Seal all penetrations with silicone caulk—especially where wires exit. Pro Tip: Elevate the entire bucket on bricks; this creates gravity drainage for winterization and prevents floor water damage during operation.
Boosting Cooling Power in Dry Climates
Your cooler’s output depends entirely on smart placement and airflow management. Skip these steps, and even a perfectly built unit delivers weak results.
Creating the Perfect Air Exchange Cycle
Open a window opposite the cooler—this is non-negotiable. Humid air must escape to make room for new dry air. In a 200 sq ft room, crack a window 6 inches wide. Warning: Closing windows turns your space into a steam room within 20 minutes, halting evaporation. For garages, install an exhaust fan in the highest corner to vent rising humid air.
Maximizing Temperature Drop with Smart Positioning
Place the cooler’s intake where air is hottest and driest—like a south-facing patio. Avoid shady spots; 10°F cooler intake air means 5°F less cooling potential. On triple-digit days, drape a light-colored sheet over the bucket’s top—it shades the reservoir without blocking airflow, keeping water 5°F cooler for better evaporation.
Winterizing Before the First Frost
Drain all water on the last hot day. Run the pump dry for 2 minutes to clear lines. Remove pads and store them vertically to prevent warping. Critical Step: Blow compressed air through distribution holes—trapped moisture freezes and cracks pipes. Cover the unit with a breathable tarp; plastic traps humidity that causes mold.
Fixing Common Cooling Failures in Minutes
When your cooler underperforms, diagnose these 3 issues before rebuilding:
Low Output? Check These First
- Clogged distribution holes: Remove the top pipe and soak it in vinegar for 15 minutes. Reinstall with holes angled downward.
- Weak pump flow: Clean the intake filter—mineral deposits reduce flow by 50% in hard water areas. Soak it in CLR for 10 minutes.
- Dry pad corners: Adjust the float valve to raise water level by 1/2 inch. Uneven saturation means water isn’t reaching all pad areas.
Humidity Isn’t Dropping? Your Climate Is the Culprit
If relative humidity exceeds 50%, evaporation slows dramatically. Check weather apps before running your cooler—above 60% humidity, it adds moisture without cooling. This isn’t a defect; it’s physics. In monsoon season, switch to AC or use the cooler only for ventilation.
Why Evaporative Cooling Won’t Work in Humid Regions
No DIY trick overcomes this hard limit: evaporative coolers can only chill air to the “wet-bulb temperature”—the theoretical minimum based on current humidity. In Phoenix (20% humidity), 110°F air drops to 75°F. In Miami (70% humidity), 90°F air barely reaches 84°F. Key Reality: If dew point exceeds 65°F, skip evaporative cooling—it’ll make rooms feel muggier. These units thrive only where summer humidity averages below 40%, like the American Southwest, Australia’s outback, or Mediterranean climates.
Final Note: A well-built evaporative cooler slashes cooling costs by 75% in dry climates while pumping fresh air into your home. Focus on cellulose pads, foolproof water circulation, and mandatory room ventilation for success. Remember: this system fails without low humidity and open windows—but when conditions align, your DIY unit delivers remarkable comfort for pennies per hour. For ongoing efficiency, clean mineral deposits monthly with vinegar and replace pads before they harden with scale. In arid zones, this simple technology remains nature’s most elegant cooling solution.