That sweltering attic isn’t just uncomfortable—it’s silently hiking your energy bills by up to 25% while stressing your HVAC system to its limits. When attic temperatures soar past 140°F in summer, heat radiates downward through your ceiling, turning bedrooms into ovens and forcing your air conditioner to run constantly. Learning how to make attic cooler transforms this neglected space from a heat trap into a temperature-regulating asset. You’ll discover practical solutions ranging from $20 DIY fixes to strategic upgrades that pay for themselves in reduced cooling costs within two seasons.
Most homeowners make the critical mistake of focusing only on insulation while ignoring airflow dynamics. Effective attic cooling requires attacking three heat sources: trapped hot air, radiant solar energy, and conditioned air leakage from living spaces below. This guide delivers actionable steps verified by building science principles—not guesswork—so you can implement solutions matching your budget and home structure. Expect measurable temperature drops within days using these field-tested methods.
Identify Your Attic’s Heat Sources Before Spending a Dime
Don’t waste money on solutions that miss your specific problem. Grab a flashlight and thermometer on your next hot day to diagnose issues properly. Check if soffit vents are blocked by insulation (a shockingly common issue), measure existing insulation depth with a ruler, and feel for warm air escaping around light fixtures or the attic hatch. Look for moisture stains indicating poor ventilation—these appear as dark streaks along roof rafters or musty odors near gable vents. If insulation feels damp or shows mold growth, fix ventilation first before adding more material.
Why Your Ridge Vents Might Be Useless Right Now
Ridge vents only work when paired with unobstructed soffit vents. If insulation covers your eaves, you’ve created a sealed oven. Pull back insulation to expose the full vent channel—this single step often drops attic temps by 20°F. Verify airflow by holding tissue paper near ridge vents; it should flutter upward when outside air moves through. If not, clear debris from vent openings and trim back insulation 1-2 inches from vent edges using a vent baffle.
Spot Hidden Air Leaks That Waste 30% of Your Cooling
Focus on these trouble spots where conditioned air escapes upward:
– Attic hatch covers (add weatherstripping and an insulated lid)
– Recessed light fixtures (seal with airtight covers)
– Plumbing stacks (caulk around pipe penetrations)
– Electrical boxes (spray expanding foam around wires)
A simple smoke pencil test reveals leaks—watch where smoke gets pulled toward openings. Seal gaps larger than 1/4 inch with fire-rated spray foam to prevent energy loss without compromising safety.
Install Soffit-to-Ridge Ventilation for Natural Cooling
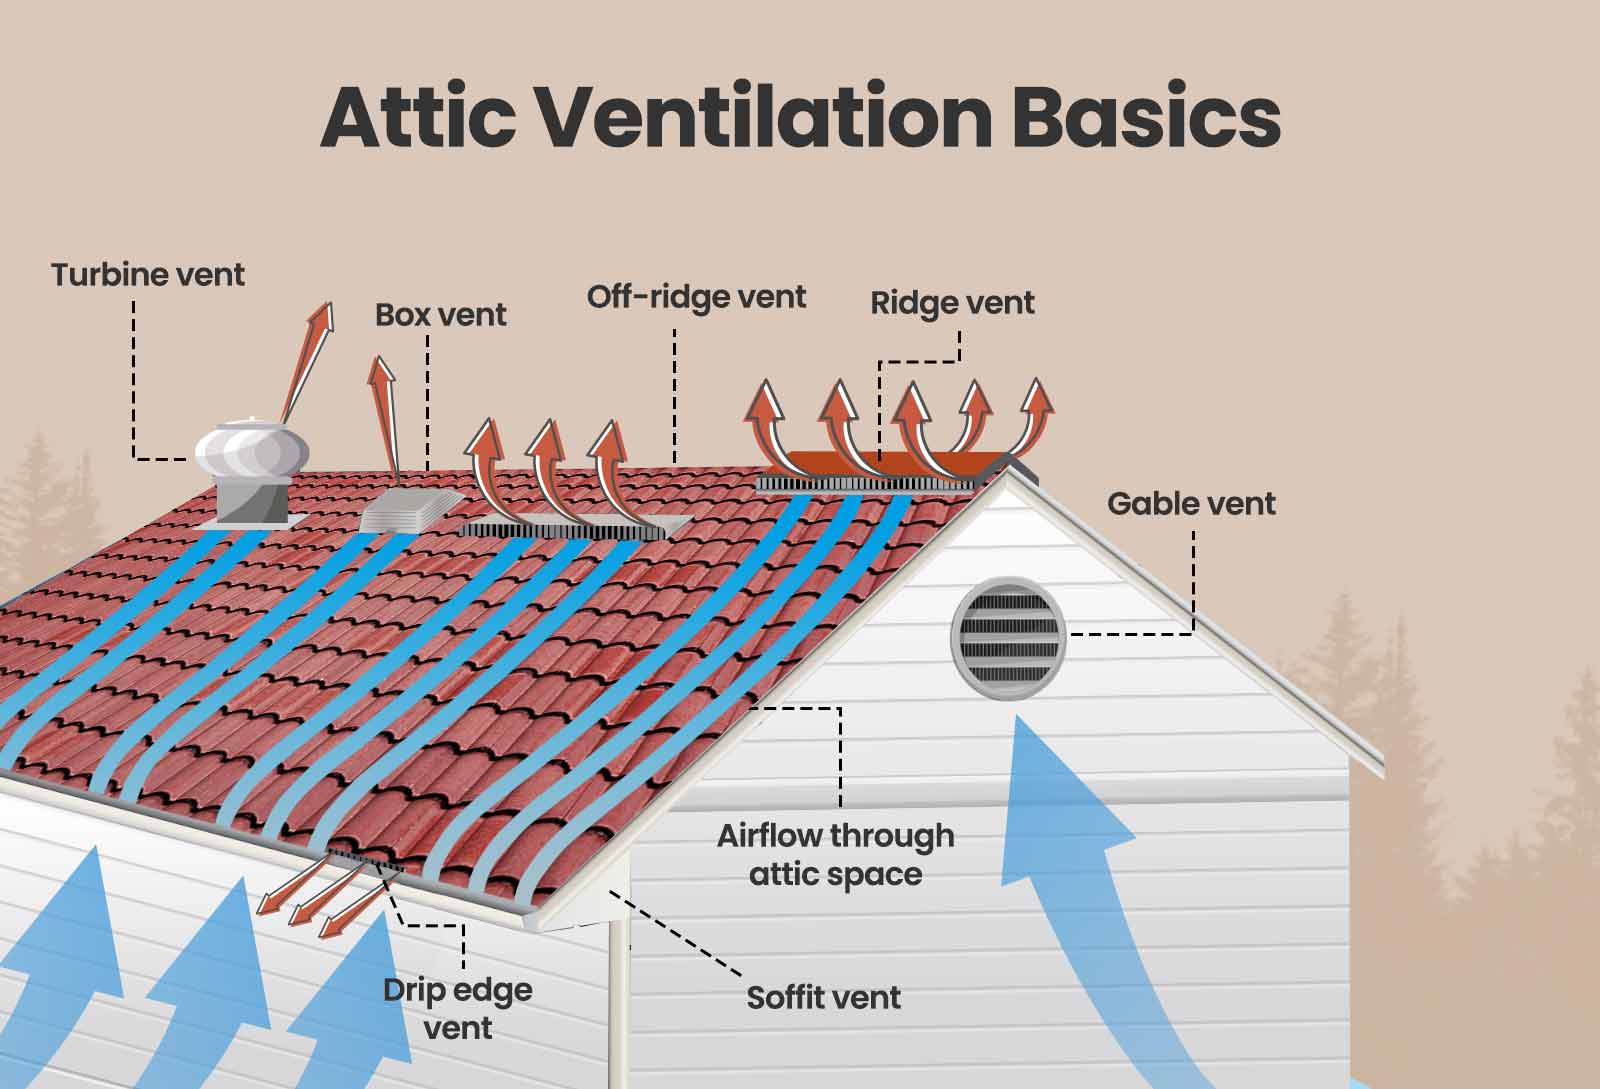
This passive system creates continuous airflow without electricity by harnessing physics: cool air enters soffit vents, heats up in the attic, then exits through ridge vents. For optimal performance, maintain a 1:300 ventilation ratio (1 sq ft vent per 300 sq ft attic space). Most homes need 50% more soffit venting than currently installed—calculate your requirement by dividing attic square footage by 300.
Why Gable Vents Alone Cause Stagnant Air Pockets
Gable vents create horizontal cross-breezes that leave dead zones near the roof peak. Combine them with soffit vents for vertical airflow that flushes heat from the entire space. If retrofitting is impossible, install a solar-powered gable fan ($150) that activates at 90°F to pull stagnant air out. Position it high on the gable wall for maximum hot air extraction.
Solar Attic Fans: When Passive Ventilation Isn’t Enough
For steep-pitched roofs or shaded attics, add a solar-powered roof fan ($200-$400). These units move 800-1,500 CFM of air using an integrated panel—no wiring needed. Install it 2-3 feet below the ridge cap on the sunniest roof section. Expect 15-30°F reductions on 90°F+ days. Pro tip: Choose models with thermostats that activate at 90°F to avoid cooling your attic unnecessarily on mild days.
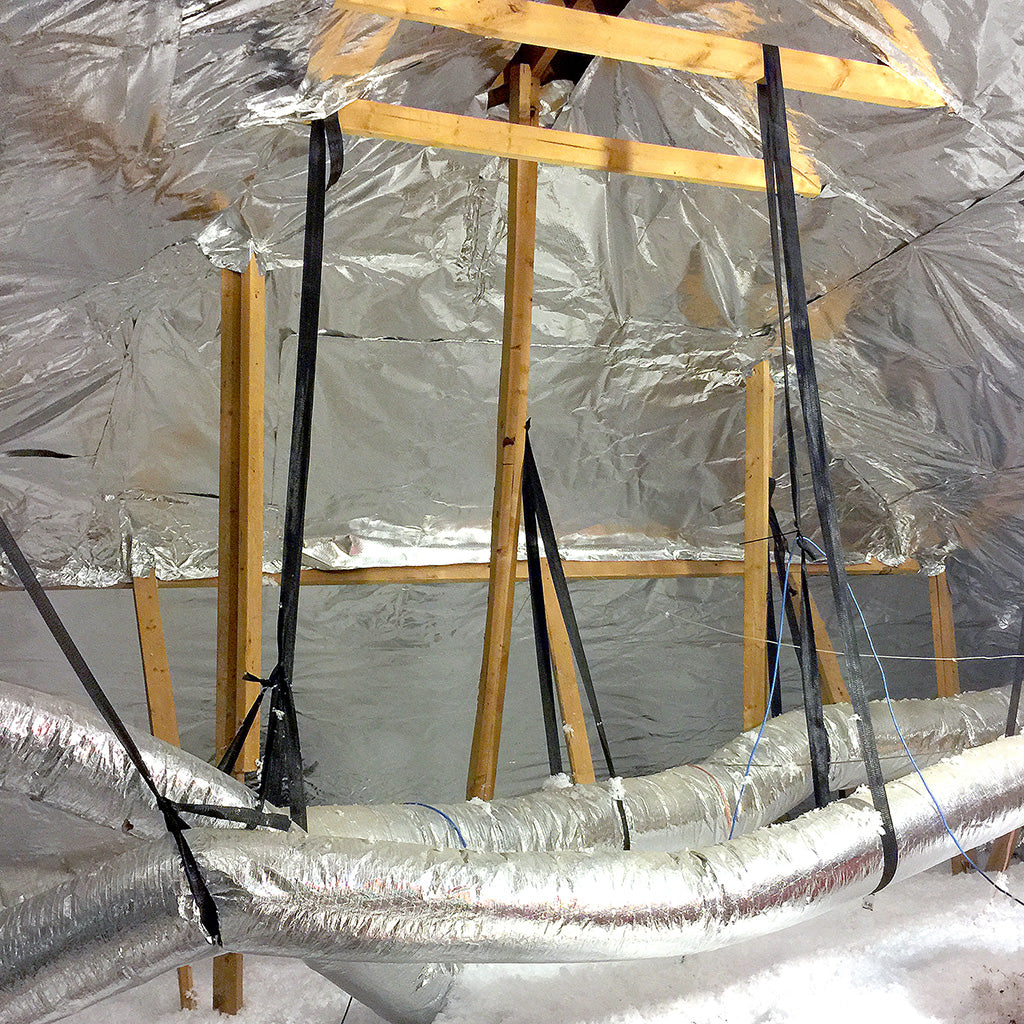
Seal Air Leaks and Add R-38 Insulation Immediately
Insulation alone won’t cool your attic—it must work with airtight sealing. Start by blocking conditioned air from rising into the attic, which accounts for 40% of summer heat gain. Then add sufficient thermal resistance to prevent heat transfer downward.
Critical Sealing Mistakes That Undermine Your Efforts
Never skip these steps before insulating:
– Caulk all top-plate gaps where walls meet attic floor
– Wrap plumbing stacks with fire-resistant foam collars
– Install an insulated attic hatch cover with magnetic seals
– Seal can lights using ICAT-rated airtight housings
Skip this, and new insulation becomes saturated with warm, moist air—reducing effectiveness by 50% and risking mold growth.
Achieve Real Results with R-38 Insulation Depth
Blown-in cellulose or fiberglass must reach 14-18 inches (R-38) for most climates—far deeper than the 6-inch “pink blanket” in many homes. Measure existing depth with a ruler; if below 12 inches, add more. Warning: Never compress insulation—it destroys R-value. Fluff it evenly across the entire floor. For existing batts, lay new unfaced batts perpendicular to old ones to avoid gaps.
Apply Radiant Barriers to Block 90% of Solar Heat
Radiant barriers reflect heat radiation from sun-baked roofs, reducing attic temps by 30°F. Unlike insulation, they work by reflecting rather than resisting heat. Install foil-faced barriers with the reflective side down, stapled across rafters 1-2 inches below the roof deck. This creates an air gap essential for reflection.
Why Stapling Barrier Over Insulation Backfires
Placing foil directly on insulation traps moisture and creates condensation risks. Always install barriers against rafters with an air space. In hot climates, this single upgrade can lower ceiling temperatures by 8°F—making upstairs rooms feel dramatically cooler without extra AC runtime.
Choose Reflective Roofing During Your Next Replacement
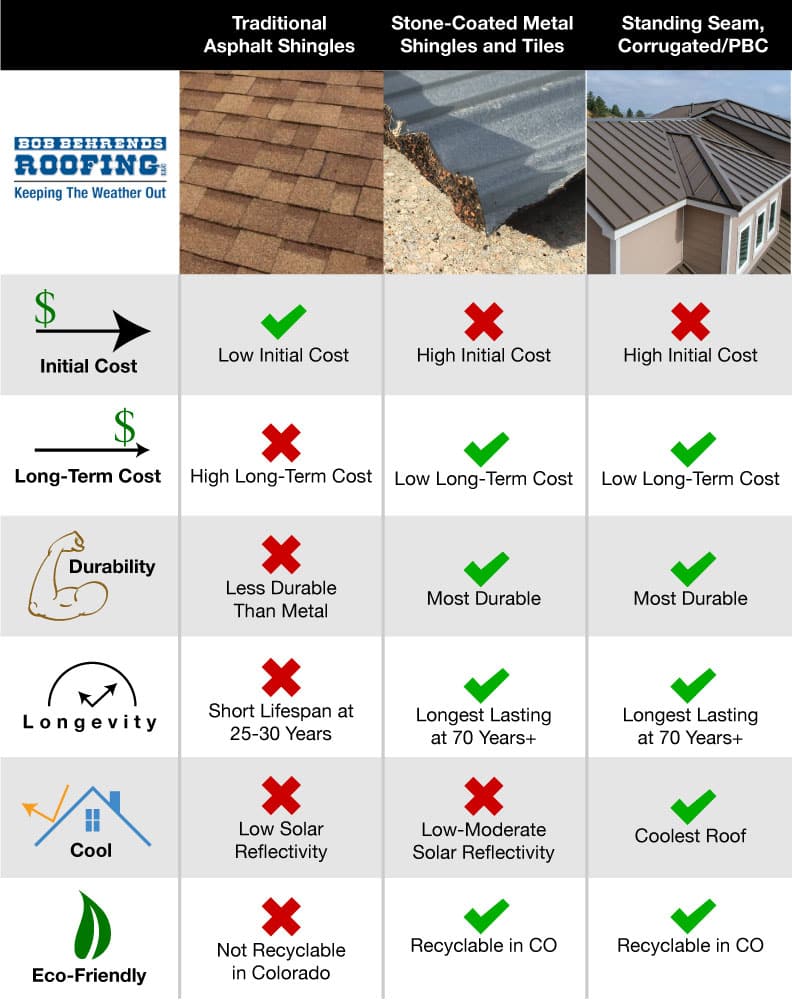
When re-roofing, select materials that reject solar energy. Light-colored asphalt shingles (white, beige) reflect 20-30% more heat than dark shingles. For maximum impact, install ENERGY STAR®-certified “cool roof” products:
– Metal roofs with special reflective coatings (up to 50°F cooler than dark asphalt)
– Clay/concrete tiles in light hues (natural thermal mass + reflectivity)
– Cool-colored asphalt shingles (pigments that reflect infrared light)
Note: This is a long-term investment—don’t replace a functional roof solely for cooling—but prioritize reflectivity when replacement is due.
Install Targeted Mechanical Cooling for Finished Spaces
For converted attics, passive methods alone won’t maintain comfort. Ductless mini-split systems provide zone-specific cooling without extending ductwork. A single 9,000 BTU unit ($1,500 installed) cools up to 400 sq ft efficiently. Mount the outdoor condenser in a shaded yard spot and run the refrigerant line through a small roof vent.
Why Whole-House Fans Fail in Modern Homes
These powerful ceiling fans (installed between top floors and attic) only work in dry climates with cool evenings. In humid regions, they pull moist air into the attic—causing condensation and mold. Reserve them for homes with excellent attic ventilation and low humidity areas.
Follow This 5-Step Attic Cooling Sequence for Maximum Impact
Implement solutions in this order to avoid wasted effort:
1. Seal all air leaks from living spaces below (2-4 hours, $50)
2. Clear soffit vents and install baffles (1 hour, $20)
3. Add radiant barrier to rafters (half-day, $200)
4. Top up insulation to R-38 depth (2 hours, $300)
5. Install solar attic fan if temps exceed 120°F (1 hour, $250)
Skip steps 1-2, and steps 3-5 become significantly less effective. Most homeowners see 20-40°F reductions within 48 hours of completing step 2.
Maintain Your Cooling System Year-Round
Prevent summer heat buildup with quarterly checks:
– Spring: Clear vent screens of cobwebs and debris
– Summer: Verify solar fan operation during peak heat
– Fall: Re-seal any new air leaks from shifting structure
– Winter: Ensure vents stay unblocked by snow
Replace attic insulation if it becomes compacted, wet, or contaminated—typically every 15-20 years. Monitor temperatures with a $10 wireless sensor; if attic exceeds 110°F when outside is 90°F, revisit your ventilation strategy.
A properly cooled attic transforms your home’s comfort and efficiency. By methodically implementing these solutions—starting with air sealing and ventilation—you’ll create a thermal buffer that keeps living spaces cooler while reducing AC runtime. The most effective approach combines passive systems (ventilation, radiant barriers) with strategic mechanical help for finished areas. Within one season, you’ll notice quieter HVAC operation, lower energy bills, and rooms that stay comfortably cool even during heatwaves. Start with the $50 air-sealing step today—your wallet and comfort will thank you before summer’s peak.